How to enable Viva Connections desktop!
In this guide i will show you the steps for enabling Microsoft Viva Connections Desktop! This is one of the four Viva Modules
The Viva Connections for desktop experience, combines the power of your intelligent SharePoint intranet with chat and collaboration tools in Microsoft Teams. Viva Connections enables users to discover and search relevant content, sites, and news from across the organization right from the Team’s app bar. Viva Connections also allows you to incorporate your organization’s brand and identity directly in Teams.
You need SharePoint admin permissions (or higher) to create the Viva Connections for Teams desktop app in PowerShell, and you need Teams admin permissions (or higher) to apply the app in the Teams Admin Center.
Create SharePoint Site (communications)
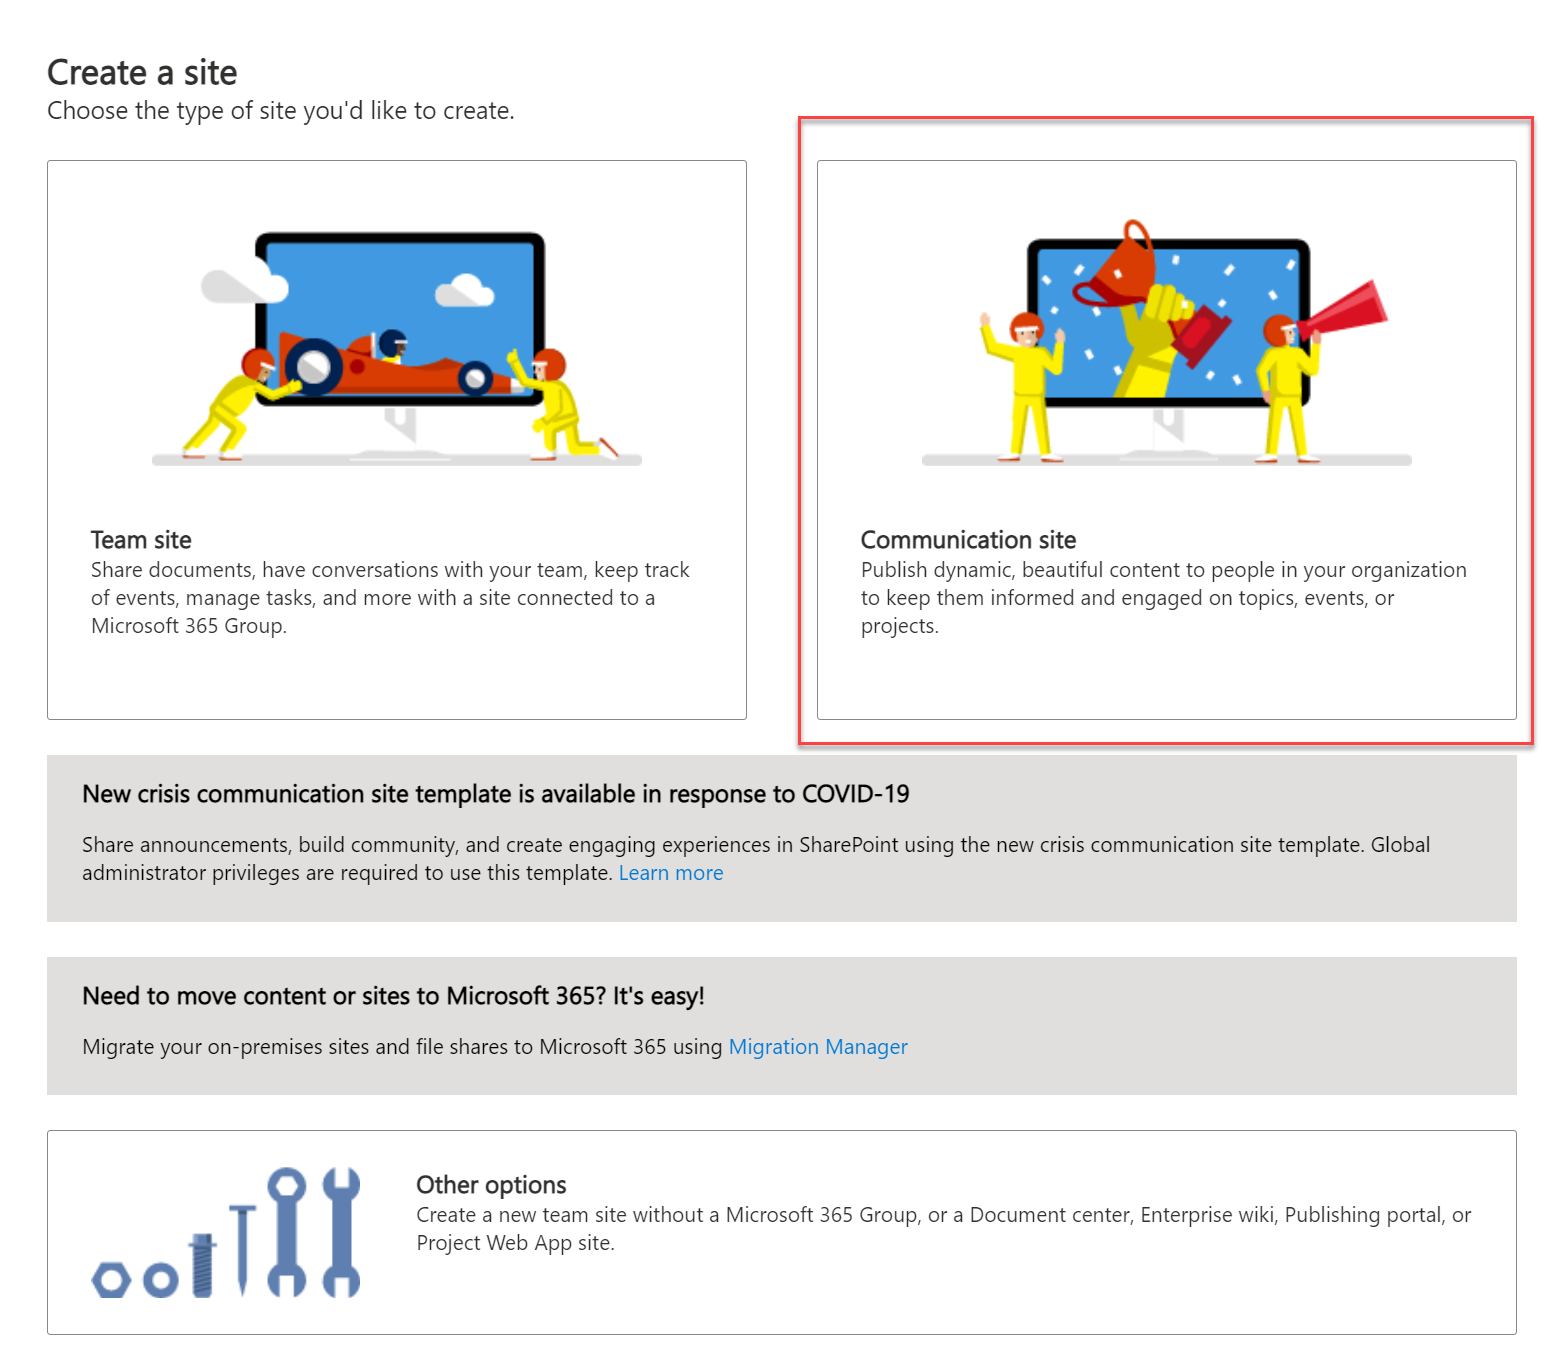
Go to the SharePoint Admin Center and create a new site if you don’t already have one. This site has to be a Modern SharePoint Communication site.

Select Communication Site
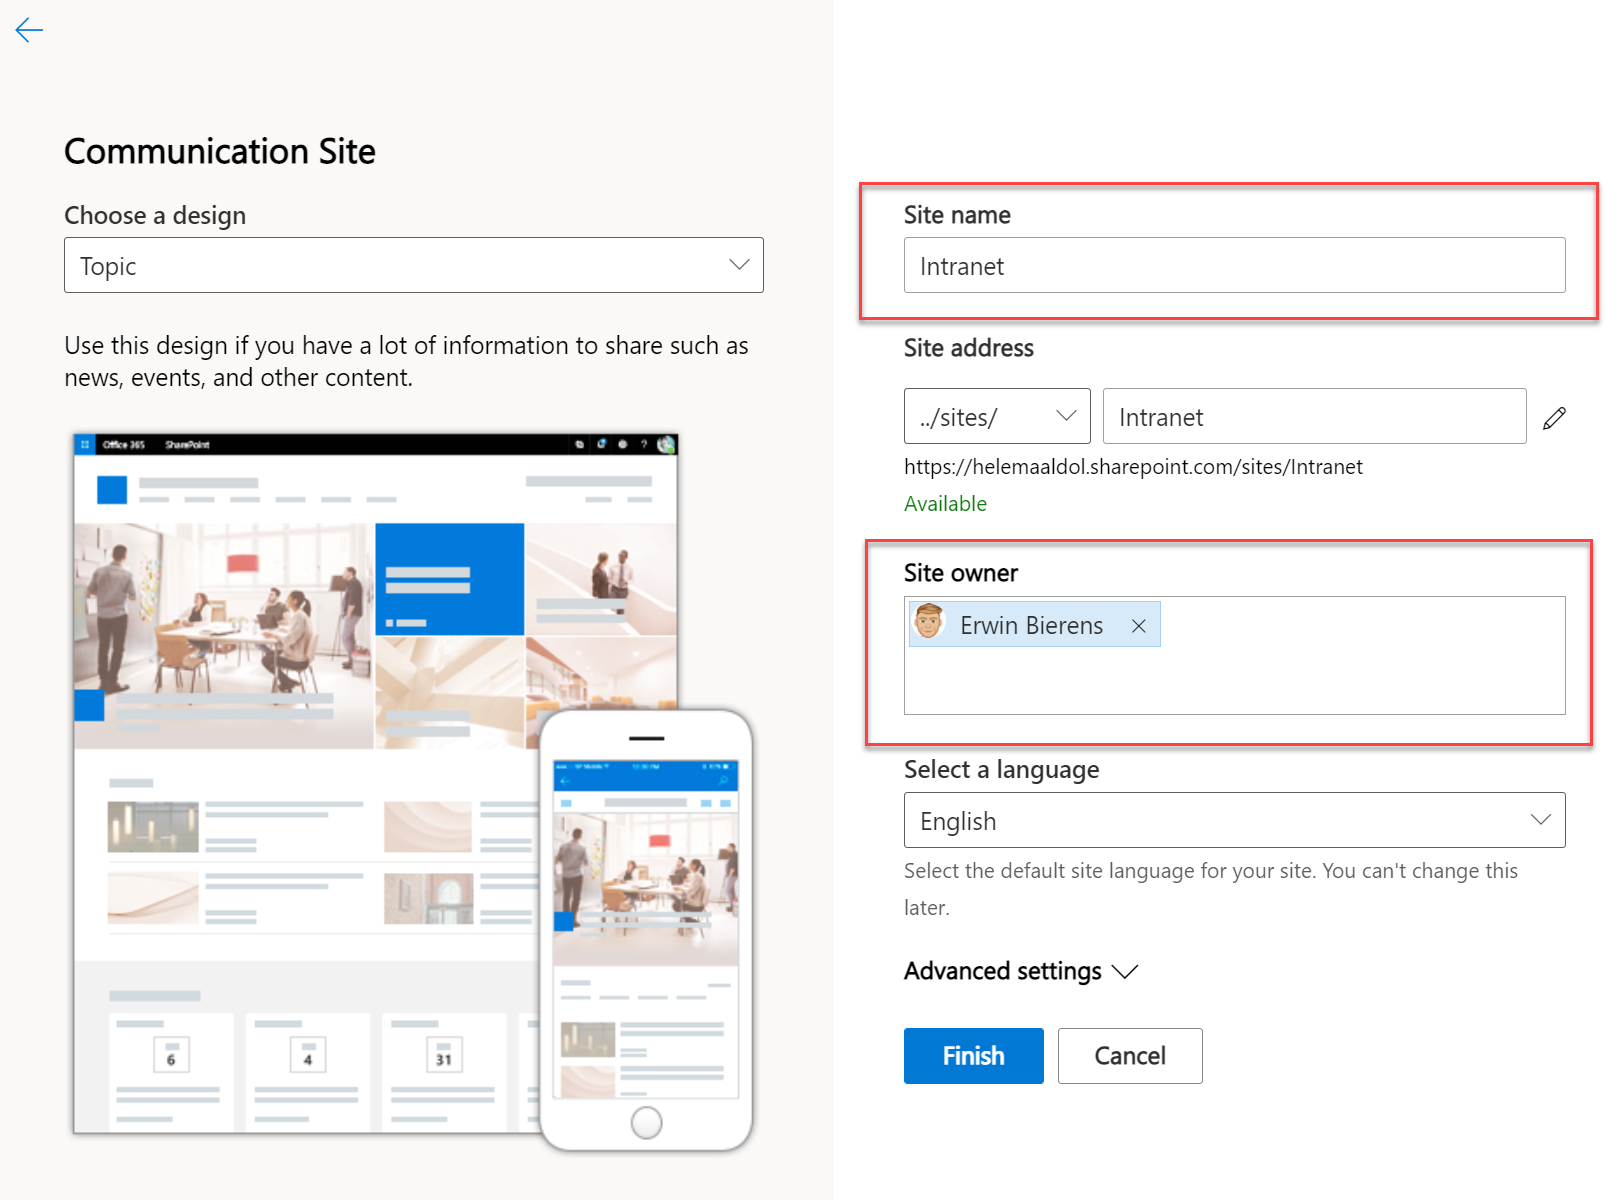
Enter a name and site admin
Set Home site
Connect to SharePoint Online PowerShell
Connect-SPOService -Url https://yourtenant-admin.sharepoint.com

Set-SPOHomeSite -HomeSiteUrl https://yourtenant.sharepoint.com/sites/Intranet

Enable global navigation
Enable global navigation and customize navigational links
Navigate to your organization’s home site. Select Settings and then select Global navigation settings.
If you do not see Global navigation in the Settings pane on the home site, you may not have site owner permissions (or higher) to the home site.
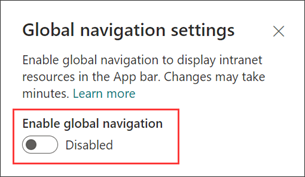
Switch the Enable global navigation toggle to On.
Create a Viva Connections app package in PowerShell
Download the Viva Connections for desktop PowerShell script.
Extract the ZIP file and run the script from a PowerShell window.
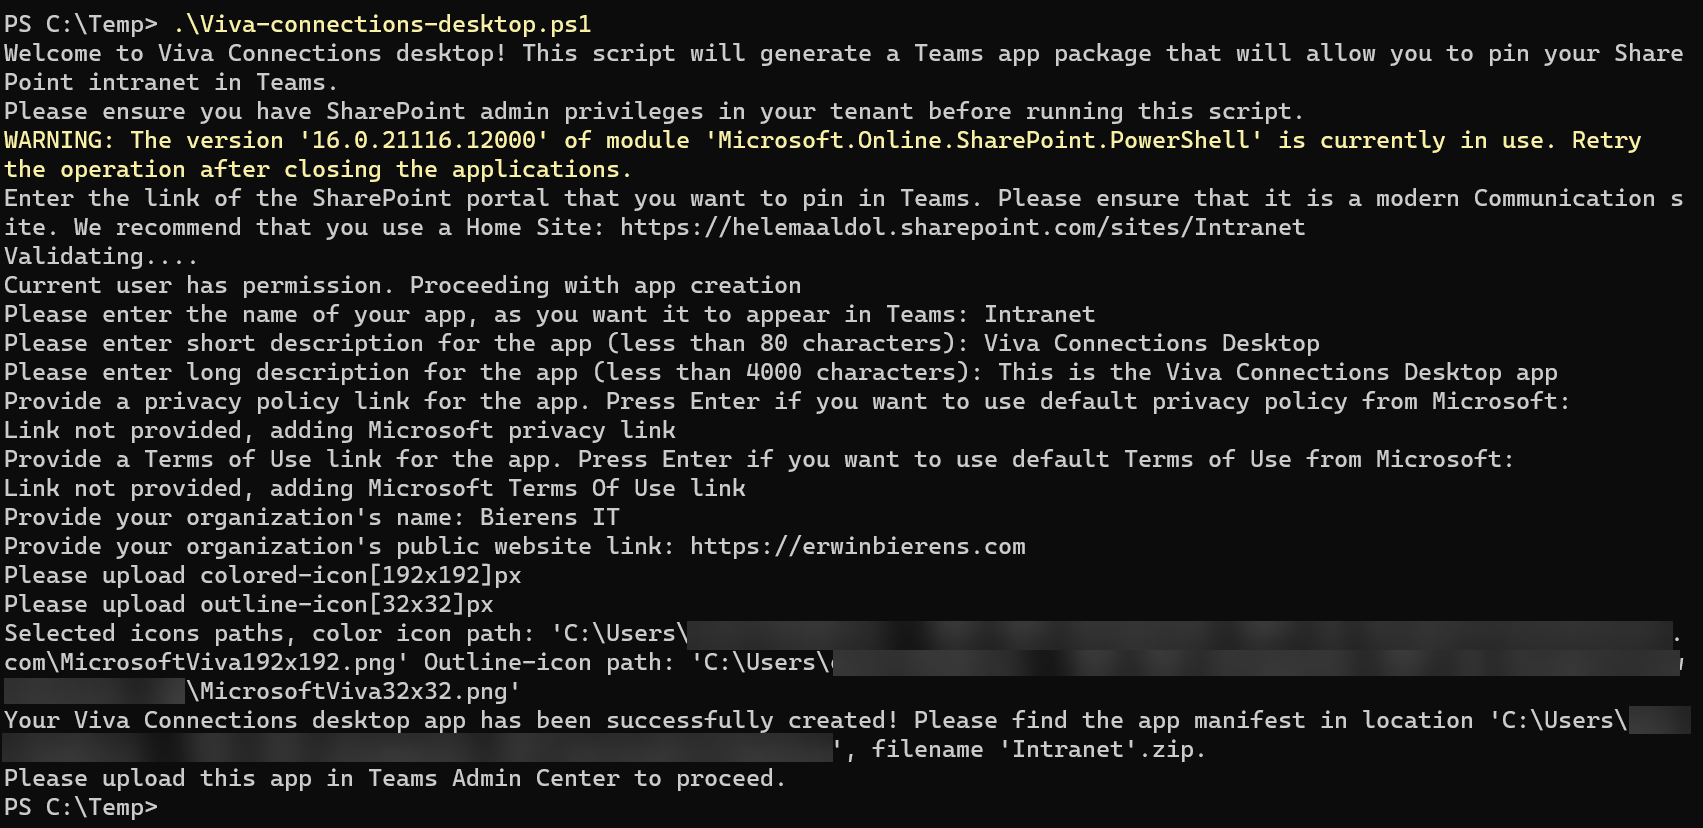
You will be asked for some questions during the run.
- Name: The name of your Viva Connections desktop package, as it should appear in Teams app bar.
- App short description (80 characters): A short description for your app, which will appear in Teams app catalog.
- App long description (4000 characters): A long description for your app, which will appear in Teams app catalog.
- Privacy policy: The privacy policy for custom Teams apps in your organization (needs to start with https://). If you do not have a separate privacy policy, press Enter and the script will use the default SharePoint privacy policy from Microsoft.
- Terms of use: The terms of use for custom Teams apps in your organization (needs to start with https://). If you do not have separate terms of use, press Enter and the script will use the default SharePoint terms of use from Microsoft.
- Company name: Your organization name that will be visible on the app page in Teams app catalog in “Created By” section.
- Company website: Your company’s public website (needs to start with https://) that will be linked to your company’s app name on the app page in Teams app catalog in “Created By” section.
- Icons: You are required to provided two PNG icons, which will be used to represent your Viva Connections desktop app in Teams; a 192X192 pixel colored icon for Teams app catalog and a 32X32 pixel monochrome icon for Teams app bar.
When the script is finished the App will be saved to your desktop.
Upload App
Go to the Teams Admin Center. Click
Open the menu Teams Apps > Manage Apps
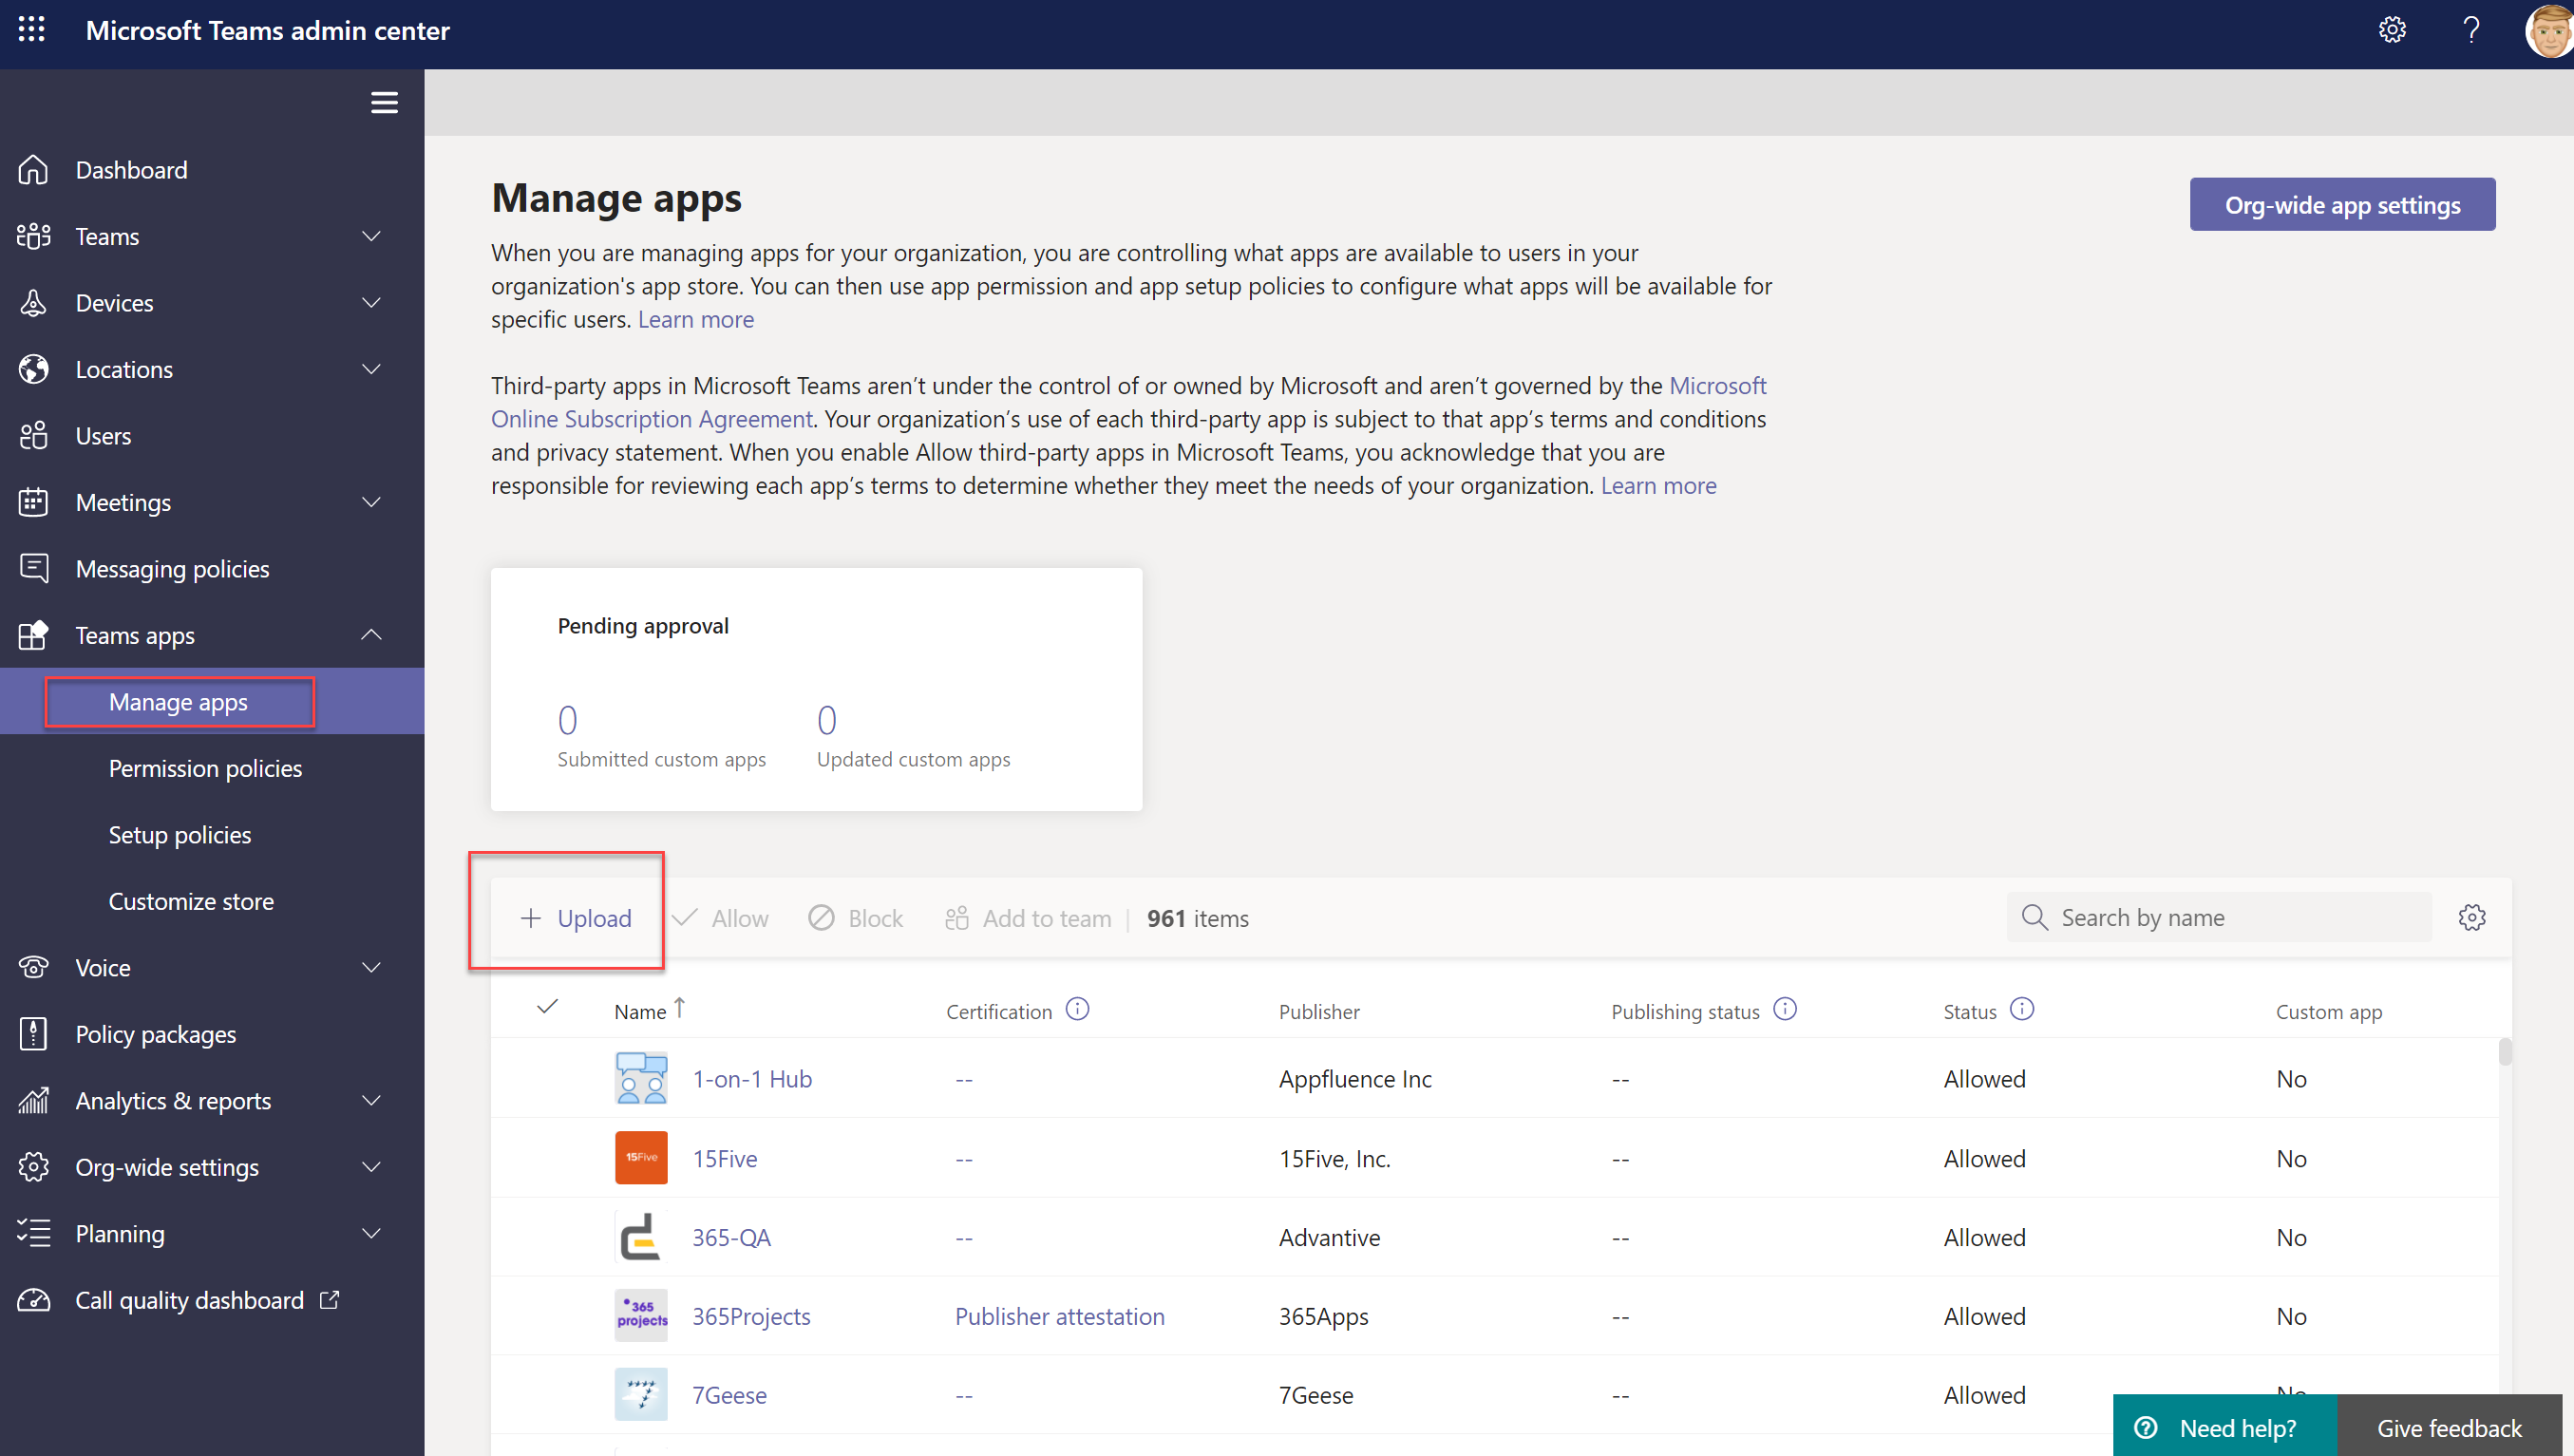
Click Upload and select file.
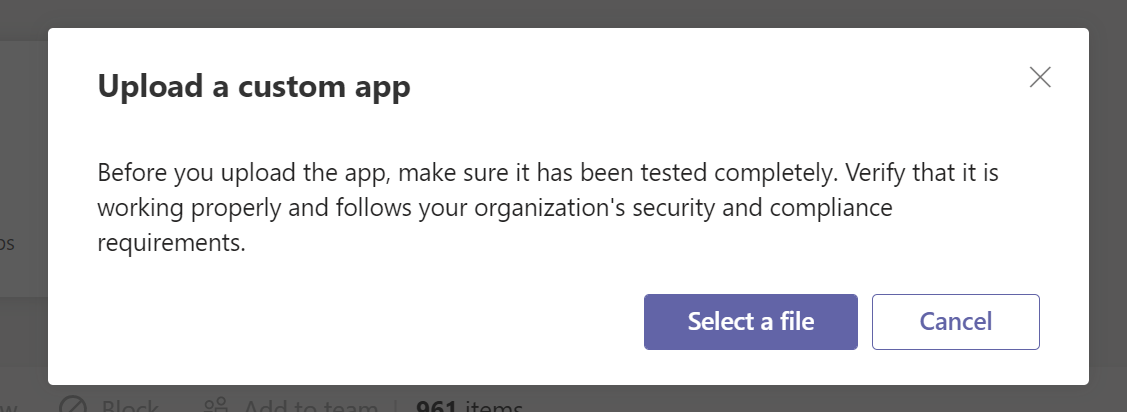
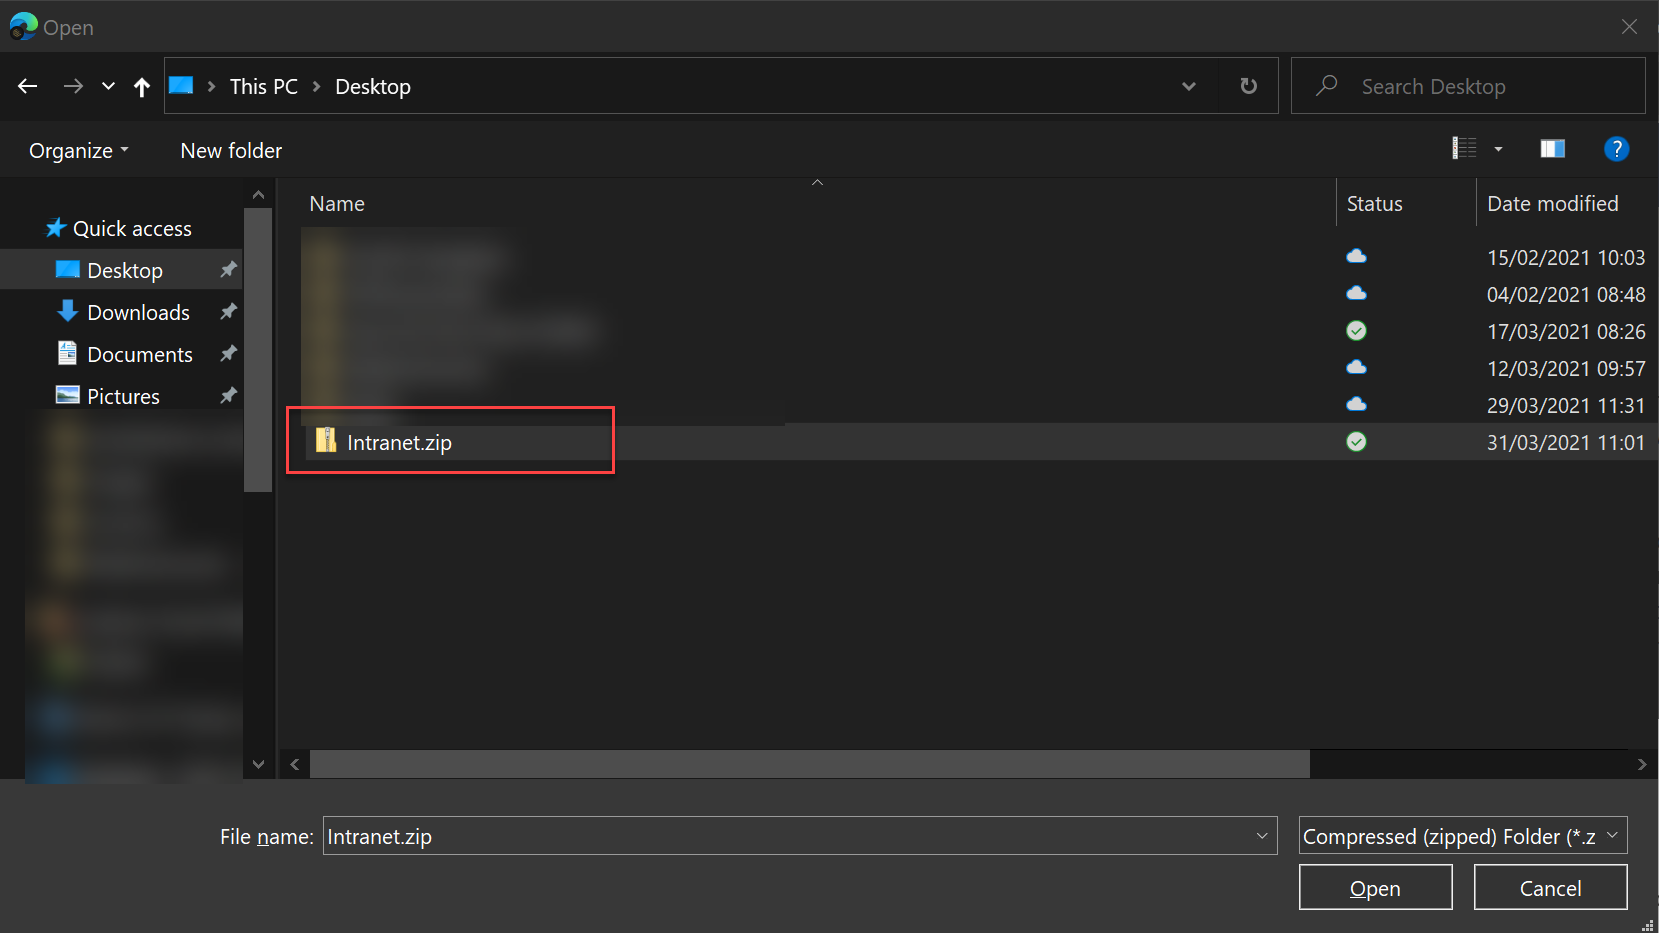
Browse to your desktop and select the just created ZIP file.
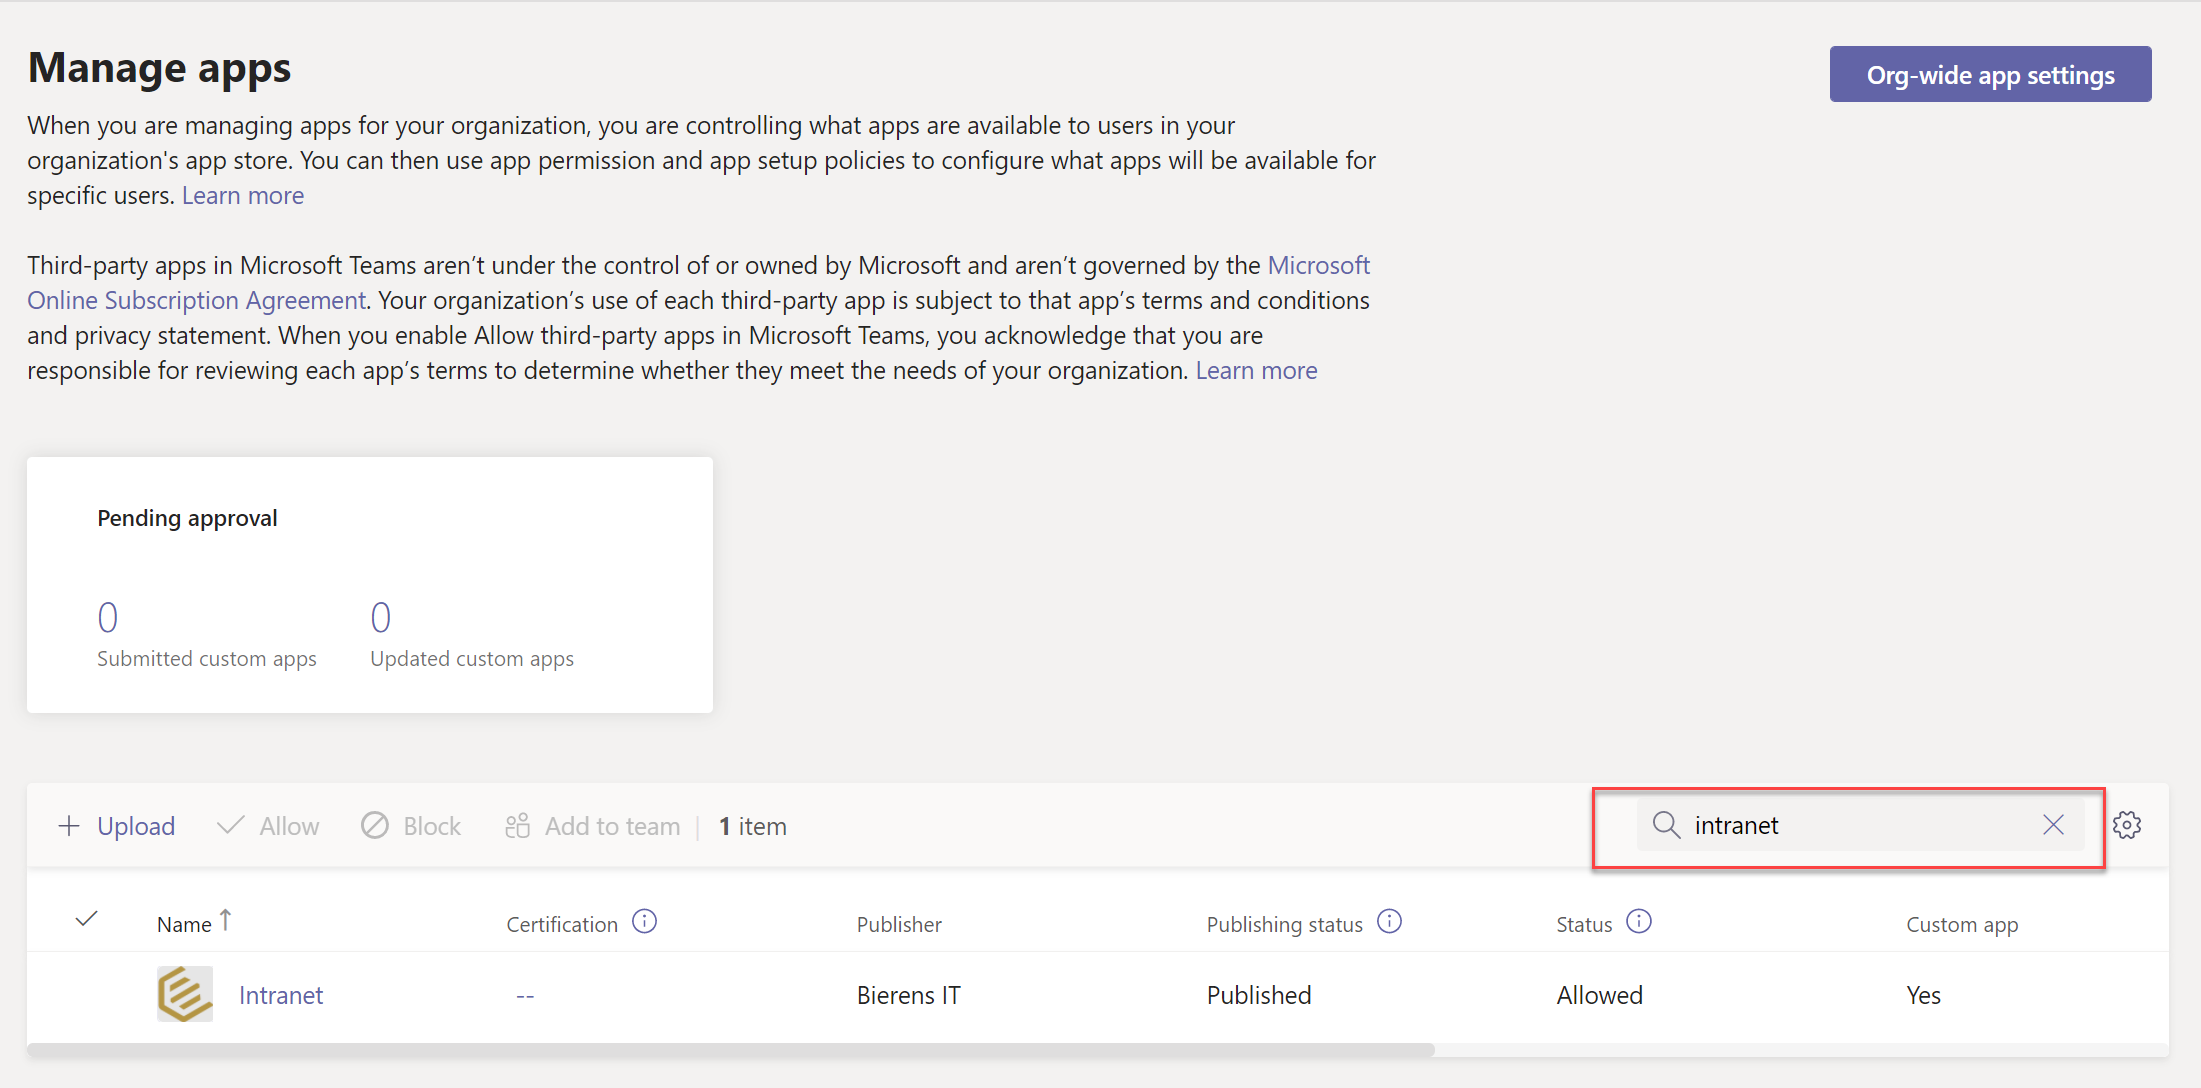
Enter your app name in the search field to check if the upload has succeed.
Pin App
Go to the Setup Policies and edit your global policy. 20210331-pinapp.png
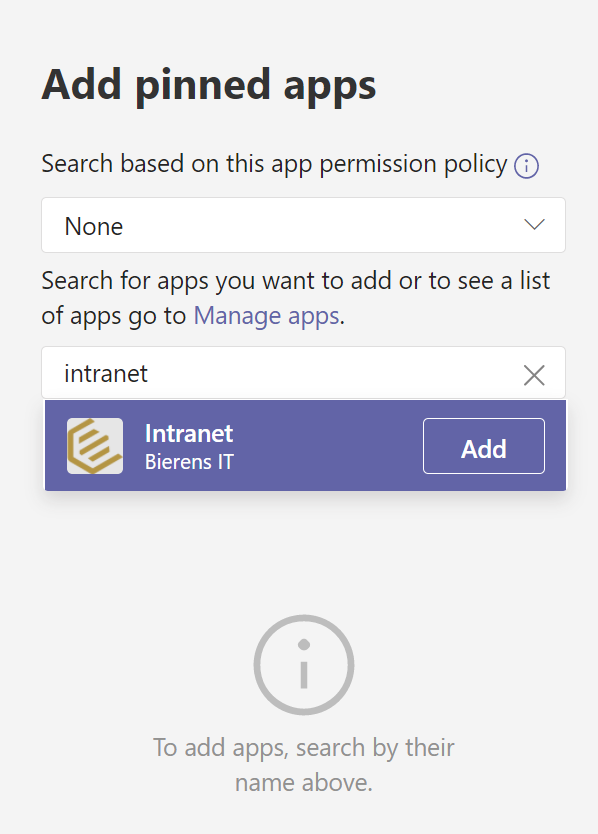
Click the Add Apps button in order to add the app to our default grid.
Enter the name of your app, click add and add below the screen.
The app is now listed.
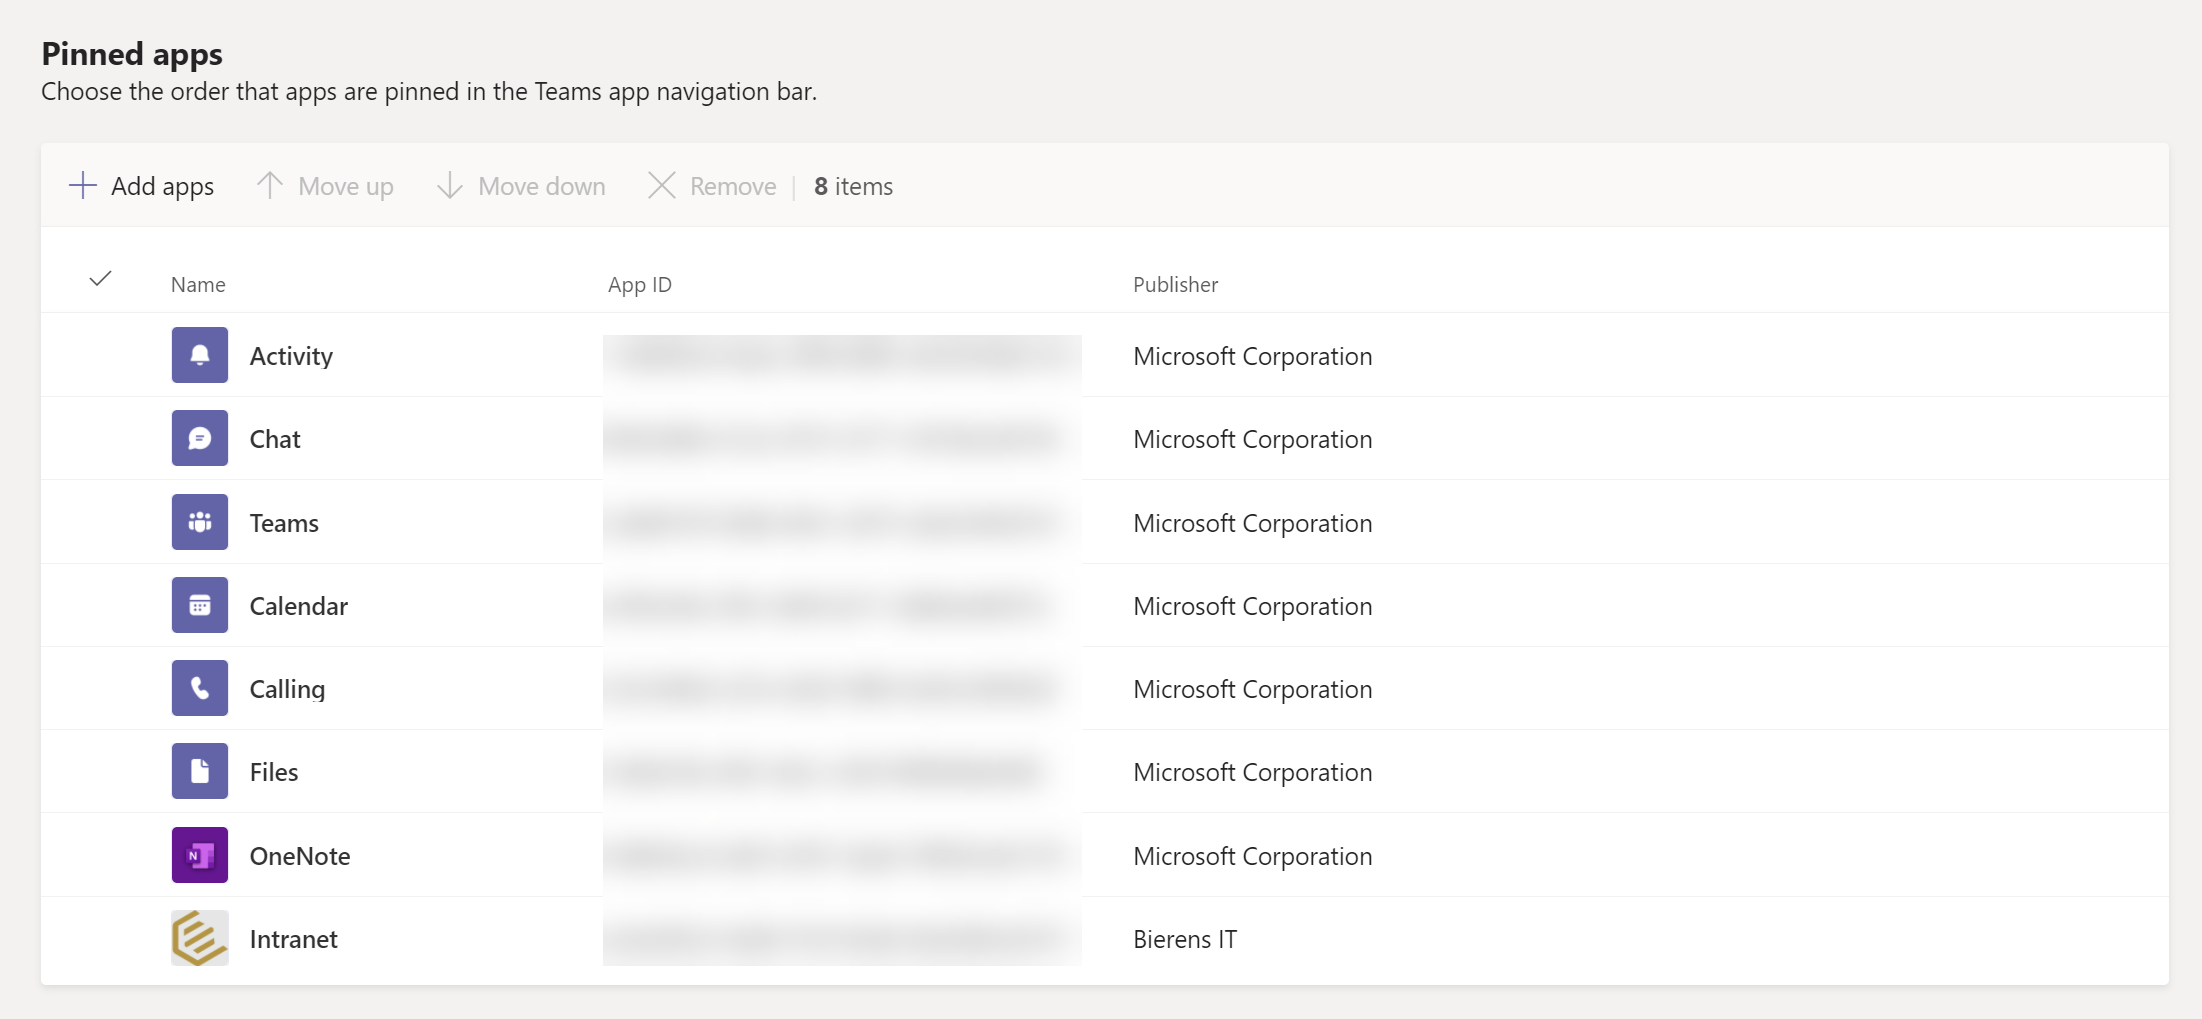
Click the save button to apply.
You will now see the app in the Teams Client

