Skype for Business and Microsoft Teams Network Testing
If you want to easy test your network connection to Skype for Business Online and Microsoft Teams server from a GUI perspective?This is possible with a tool created by Korneel Bullens and is located in the Network Planner inside FastTrack. The setup is really easy and the outcome is very clear.
/
Network Testing Companion Installation and Usage Guide
Prerequisites
- Windows 7 or later
- Windows Management Framework 5.1
- You must have a local Administrator account to install.
Installation
Anyone who has administrator rights to the computer can install the Network Testing Companion. The tool is hosted on PowerShell Gallery and can be installed as follows:
-
Go to Start, and then enter PowerShell
-
Right-click Windows PowerShell, and then select Run as Administrator
-
Enter the following command, and then select the Enter key:
Install-Module -Name NetworkTestingCompanion

-
You’ll need to enter Y at two prompts, one for the NuGet provider and one to accept the repository’s being untrusted.
-
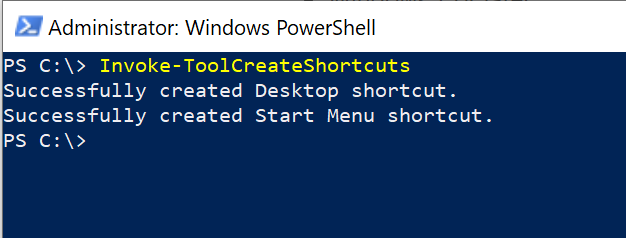
After the PowerShell module has been installed, create shortcuts for opening the tool. Type the following command, and then select Enter:
Invoke-ToolCreateShortcuts
- To start the Network Testing Companion, select the icon on your desktop or Start menu.
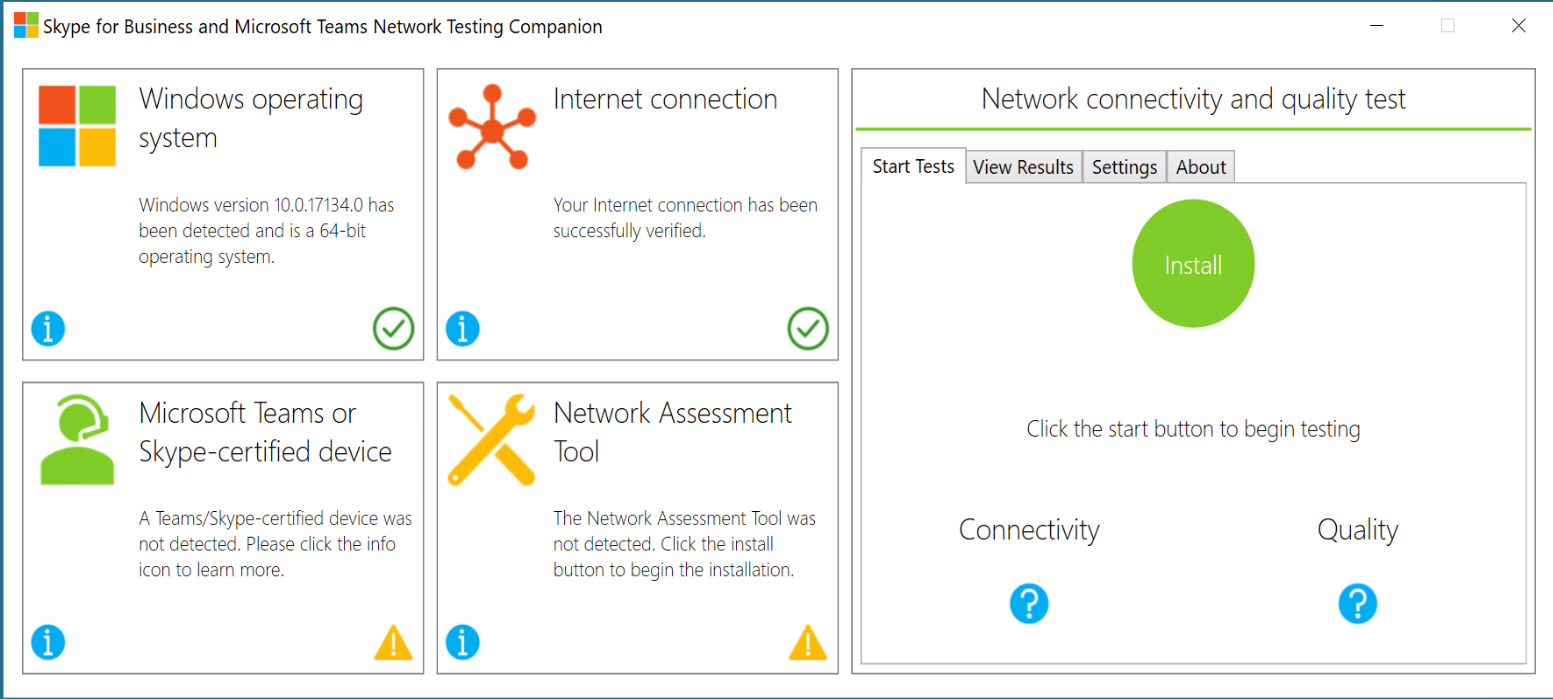
- When you don’t have the Network Assesment Tool installed click install first (green button).
Run the test
Now let’s start the assesment.
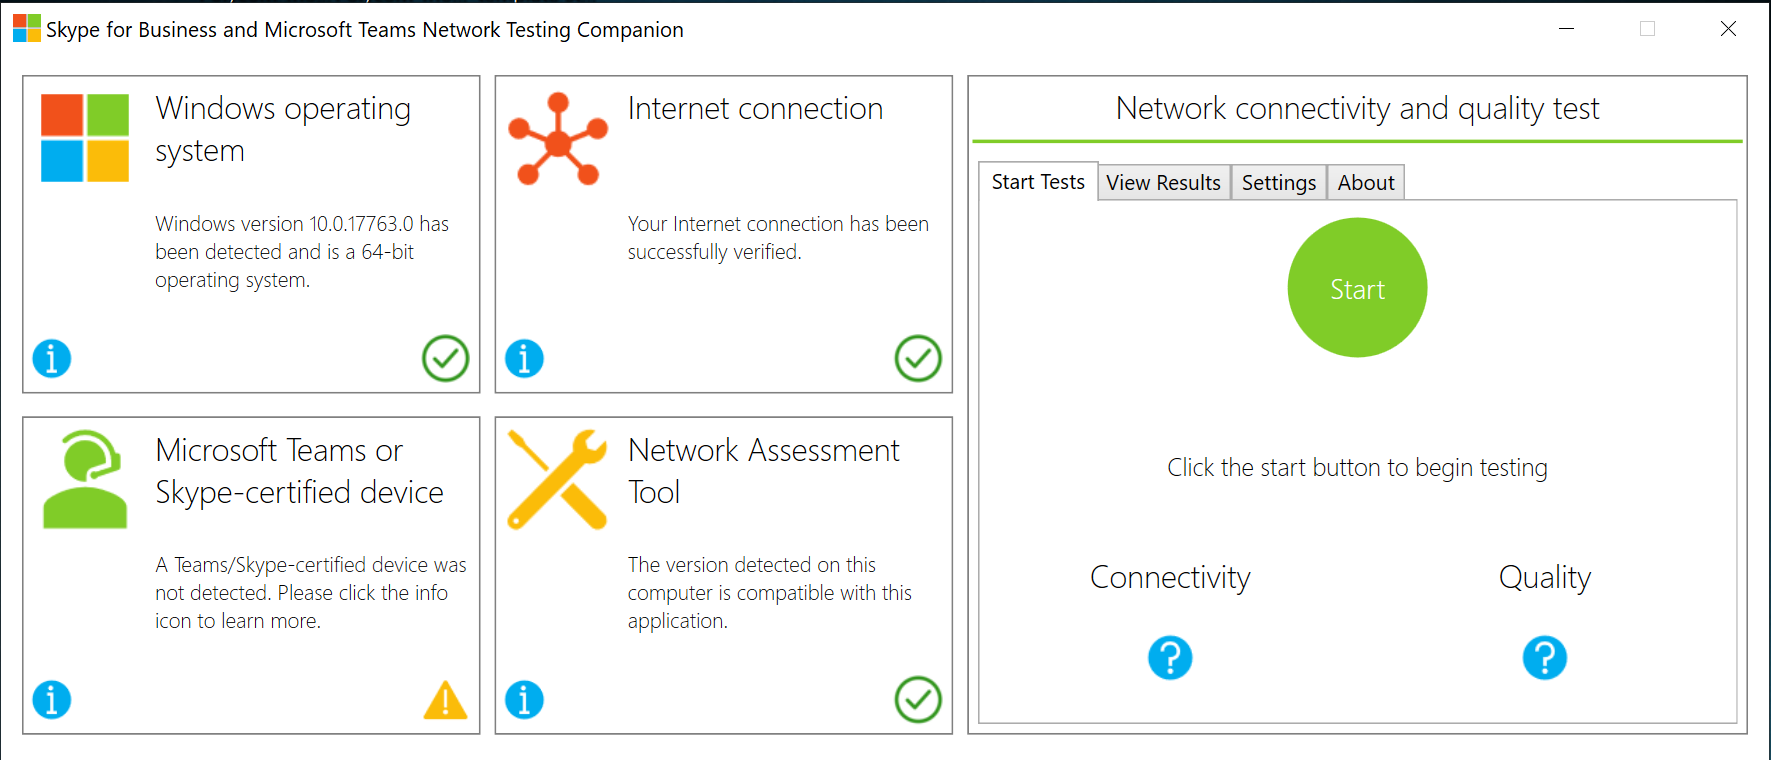
On the upper left side of the screen, you can see if your OS is supported, and on the second block (right) if you have a working internet connection.
The first block below on the left shows your compatibility for Teams/Skype devices and the right one checks your Network assesment tool (if installed, when not installed this needs to be done first, will be explained later).
To start your connectivity and quality test click the green button with Start.
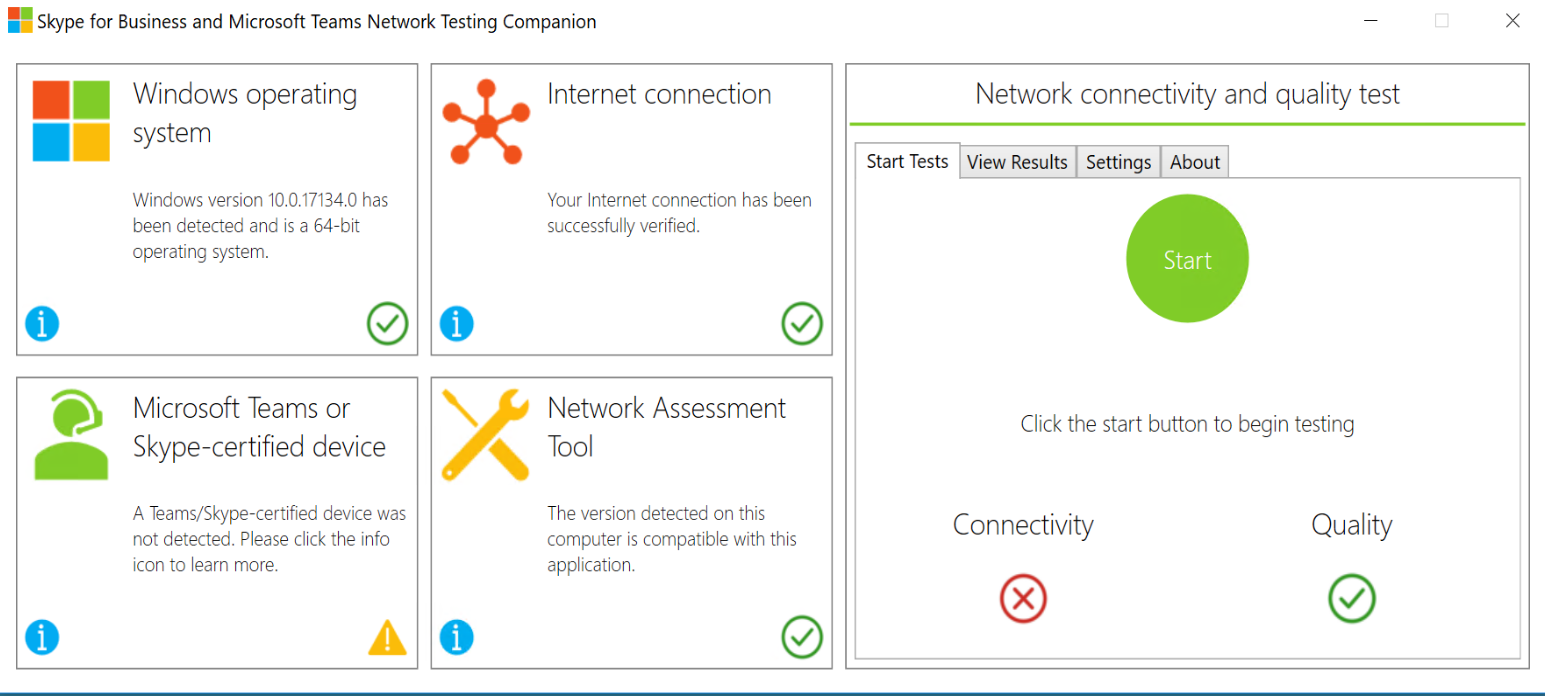
As you can see, the Connectivity test failed. Now click the “View Results” tab to show the full report.
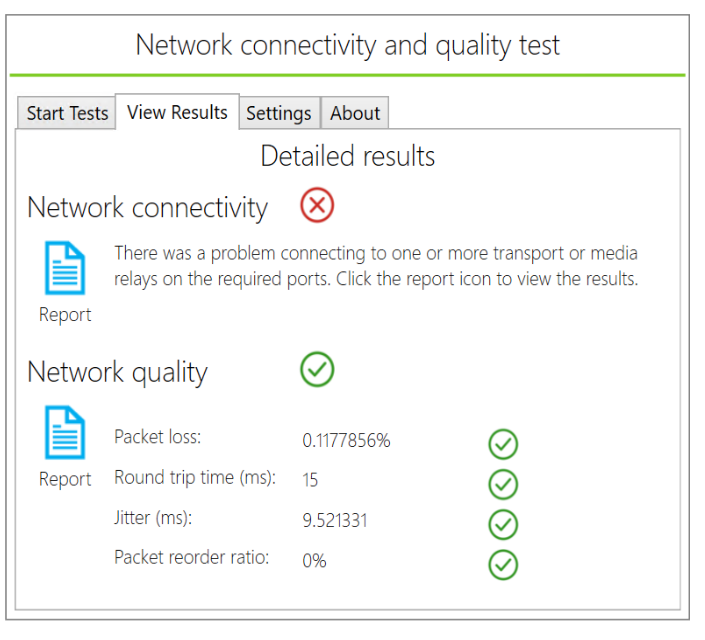
Click the report icon to open the results. In the report you will see all the tested IP addresses by Microsoft.
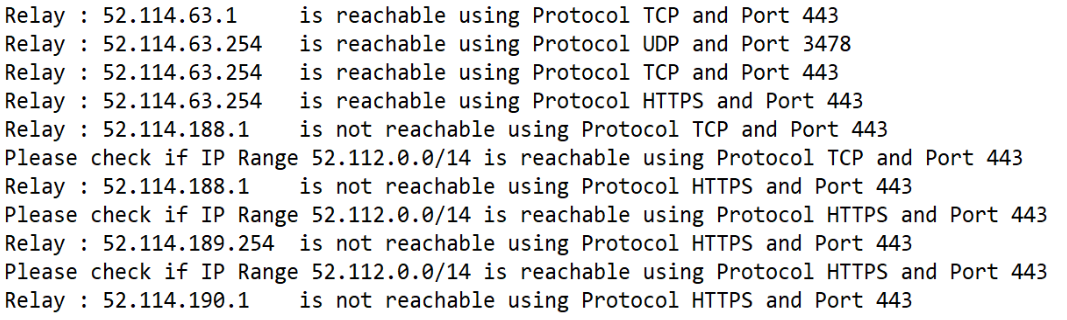
In above example i blocked some outgoing traffic in my firewall.
Remove Installation
If you wan to remove the Network Testing Companing:
-
Go to Start, and then enter PowerShell
-
Right-click Windows PowerShell, and then select Run as Administrator
-
Enter the following command, and then select the Enter key:
Uninstall-Module NetworkTestingCompanion -
Delete shortcut on your desktop.