Using eDiscovery with Microsoft Teams
Recently i was involved in a case where we needed to discover some conversations between a internal and external company due to some illegal activities.
I want to share some information on eDiscovery and Content Search with Microsoft Teams from a Security and Compliance view, this is quite simple but many of us are unaware how could you filter out the conversations and in specific to Microsoft Teams conversations.
Assign Permissions
If you have already set the permissions you can skip this first chapter.
-
Login to your Office365 tenant Admin Portal
-
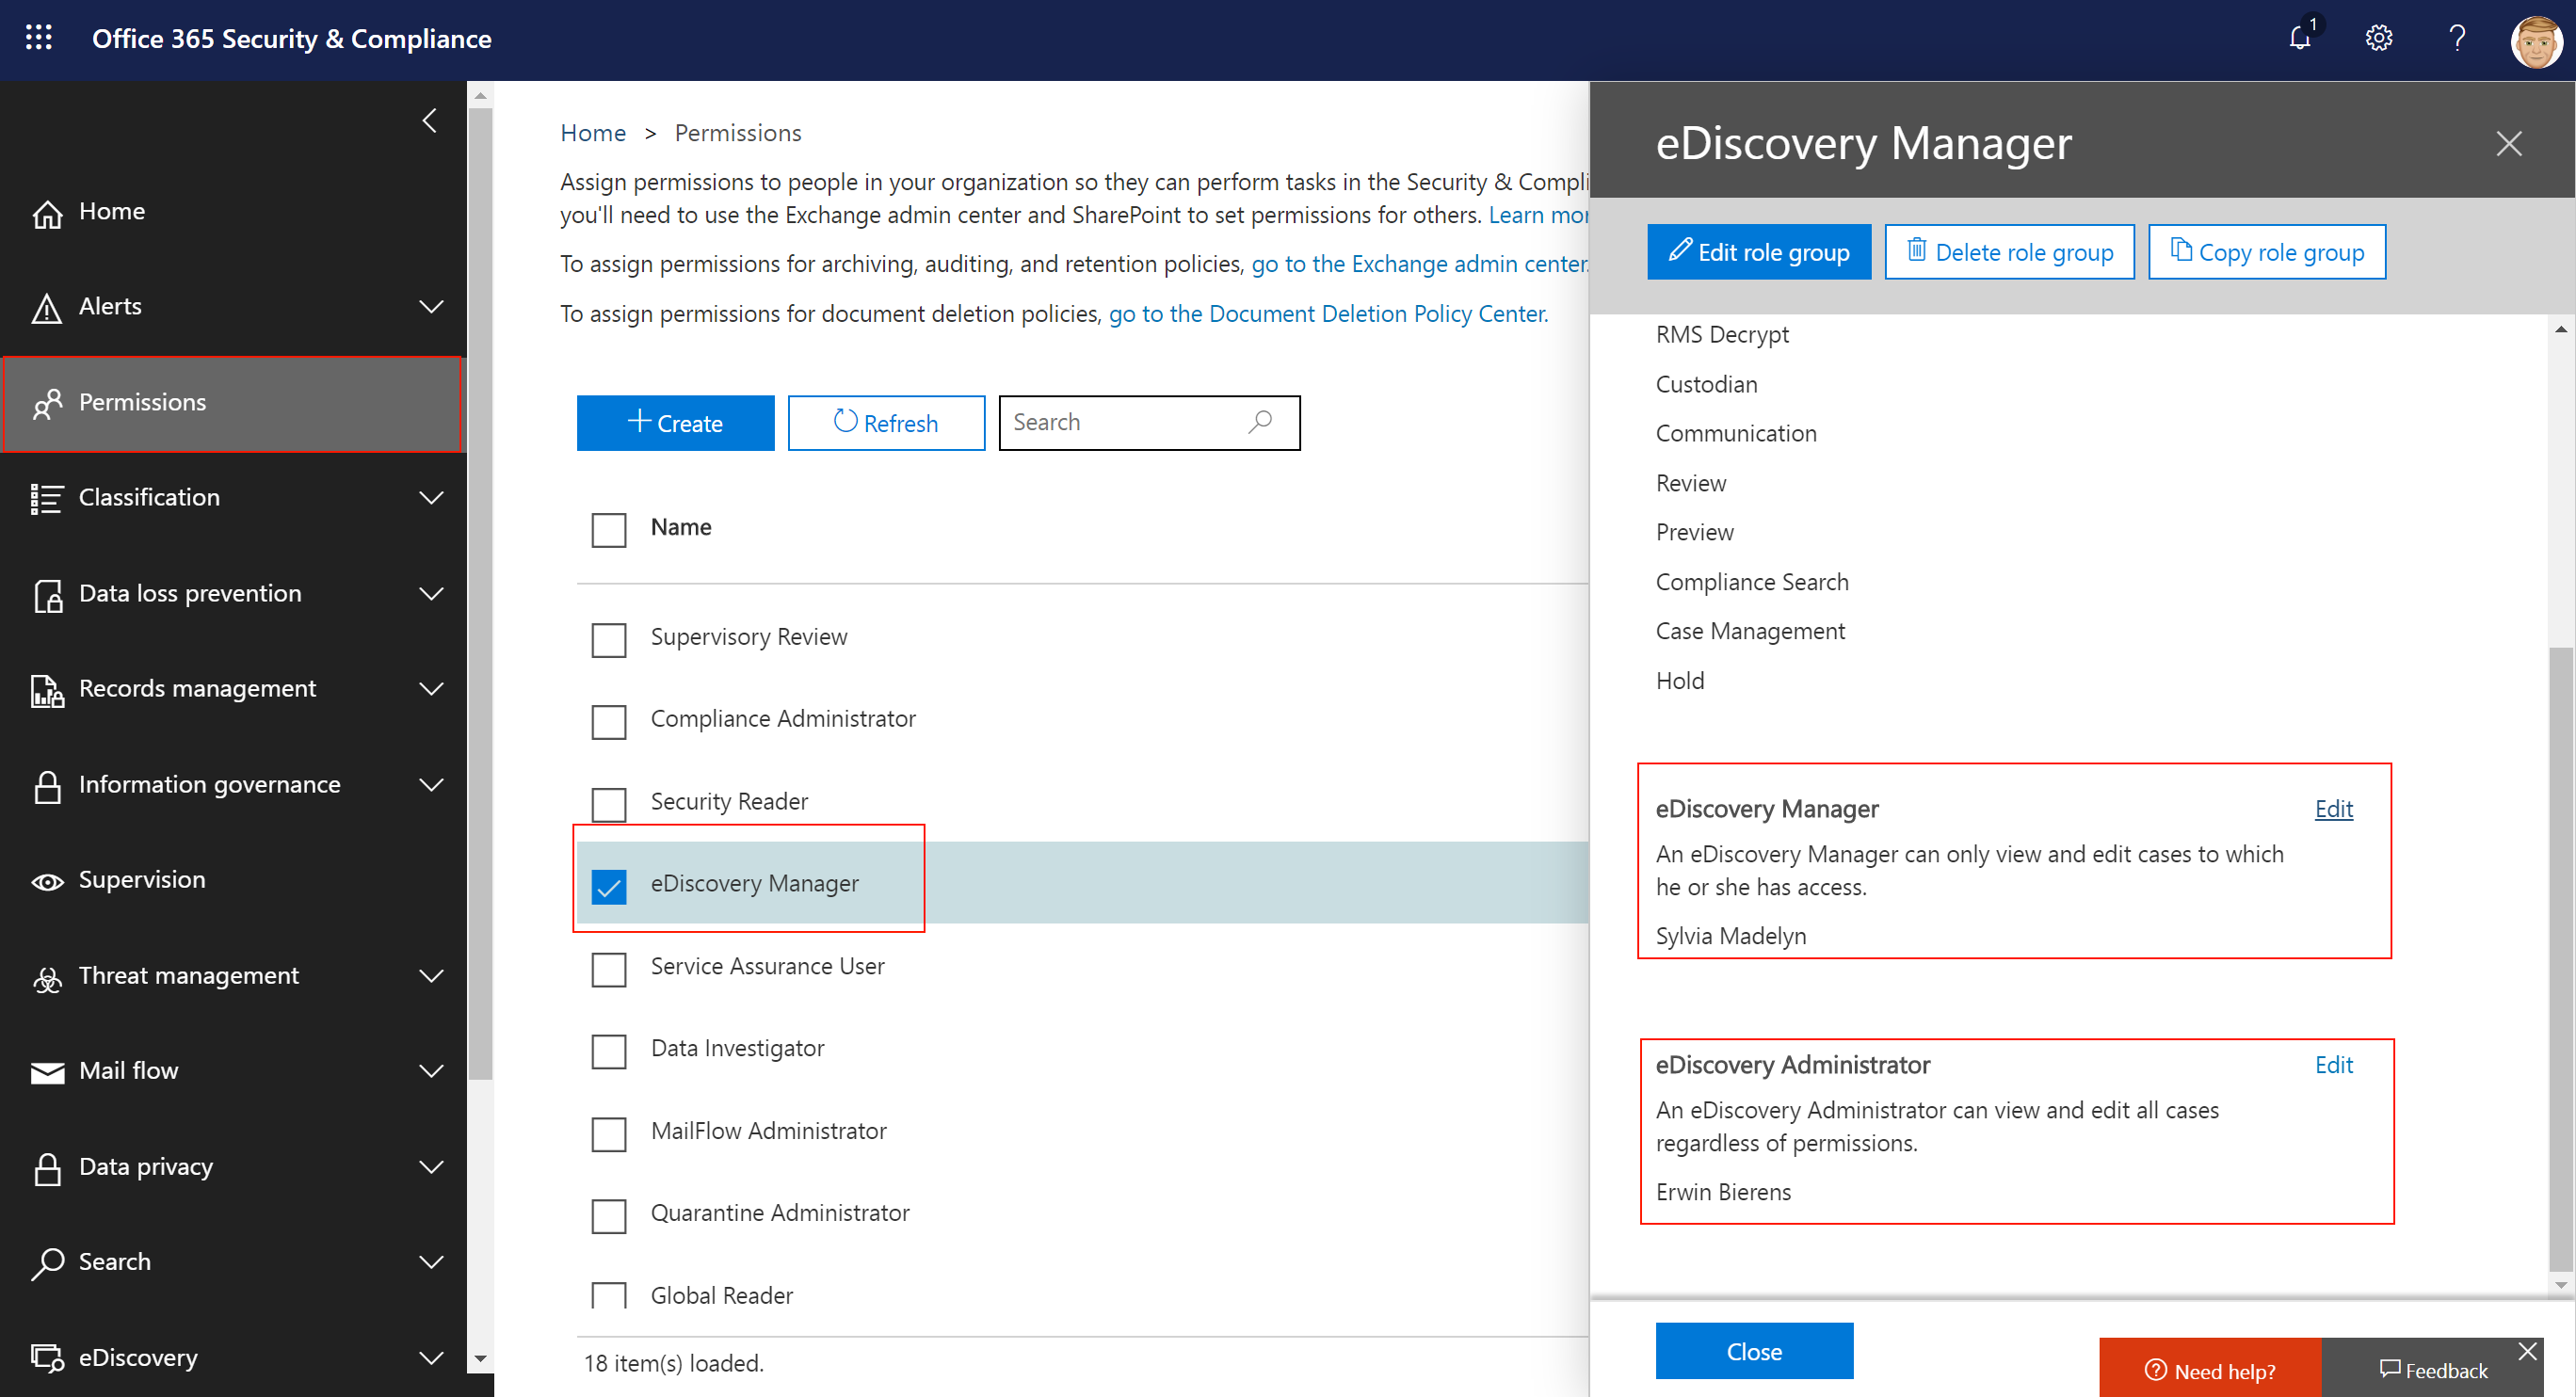
Choose Permissions from the left menu. You can add the of the user to the eDiscovery Manager or Administrator role.
eDiscovery Manager An eDiscovery Manager can only view and edit cases to which he or she has access. eDiscovery Administrator An eDiscovery Administrator can view and edit all cases regardless of permissions. -
Open eDiscovery Manager and click edit after the role you want to assign.
-
Click choose manager or administrator and add the users account.
Start up building your case
From within the Office 365 Security & Compliance Center go to eDiscovery.
-
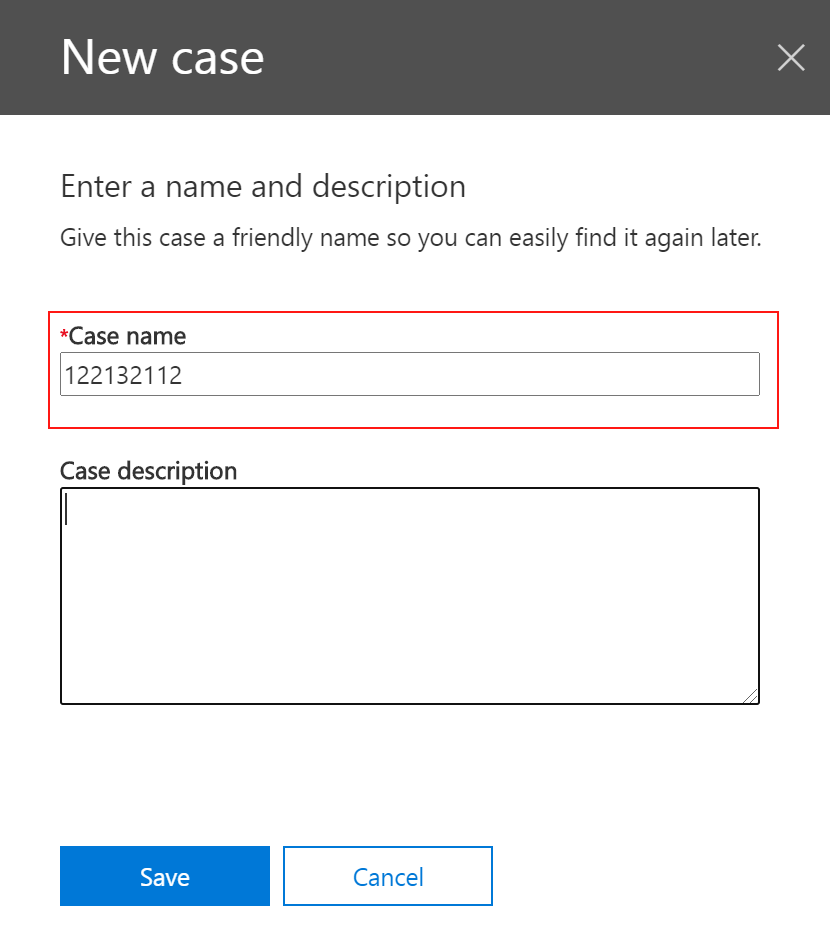
Create a new case and give it a friendly name.
-
Open the created case.
-
Open the Searches tab and click New Seach.
-
Behind Specific Locations click Modify, click Choose Users, groups, or Teams and select the user you want to check.
Note : If you want content for all users select the Select all option instead Choose users, groups, or Teams.
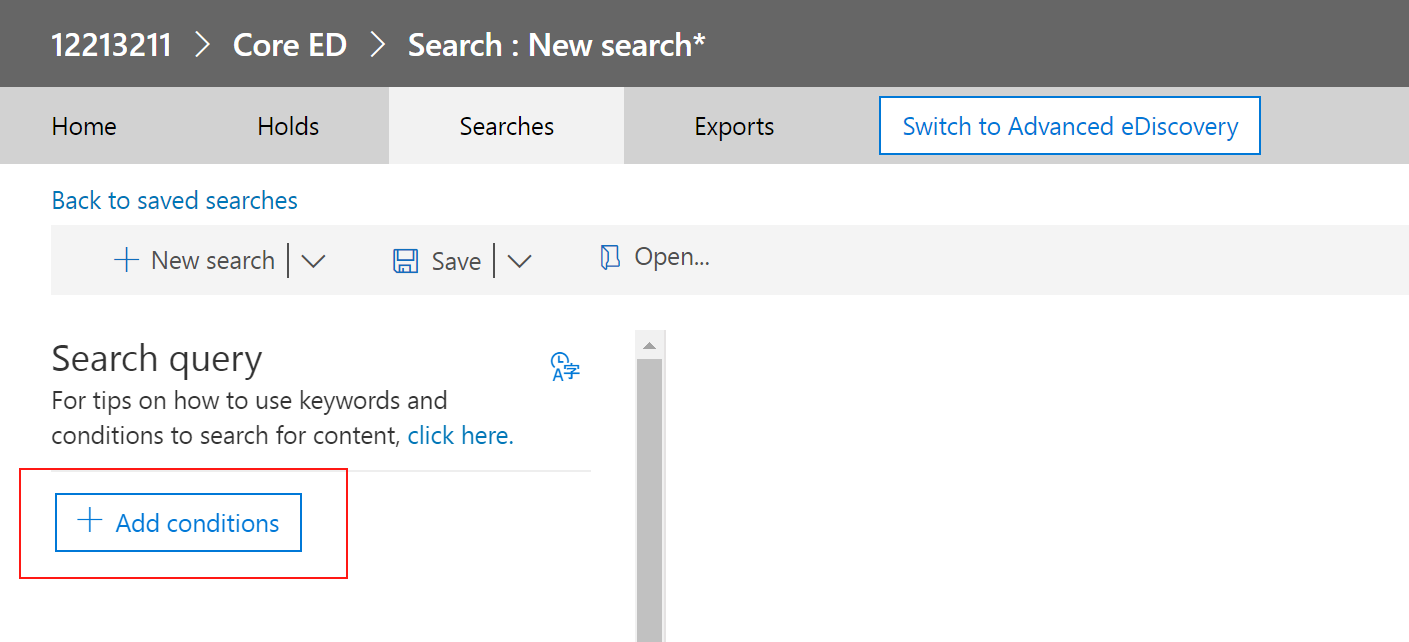
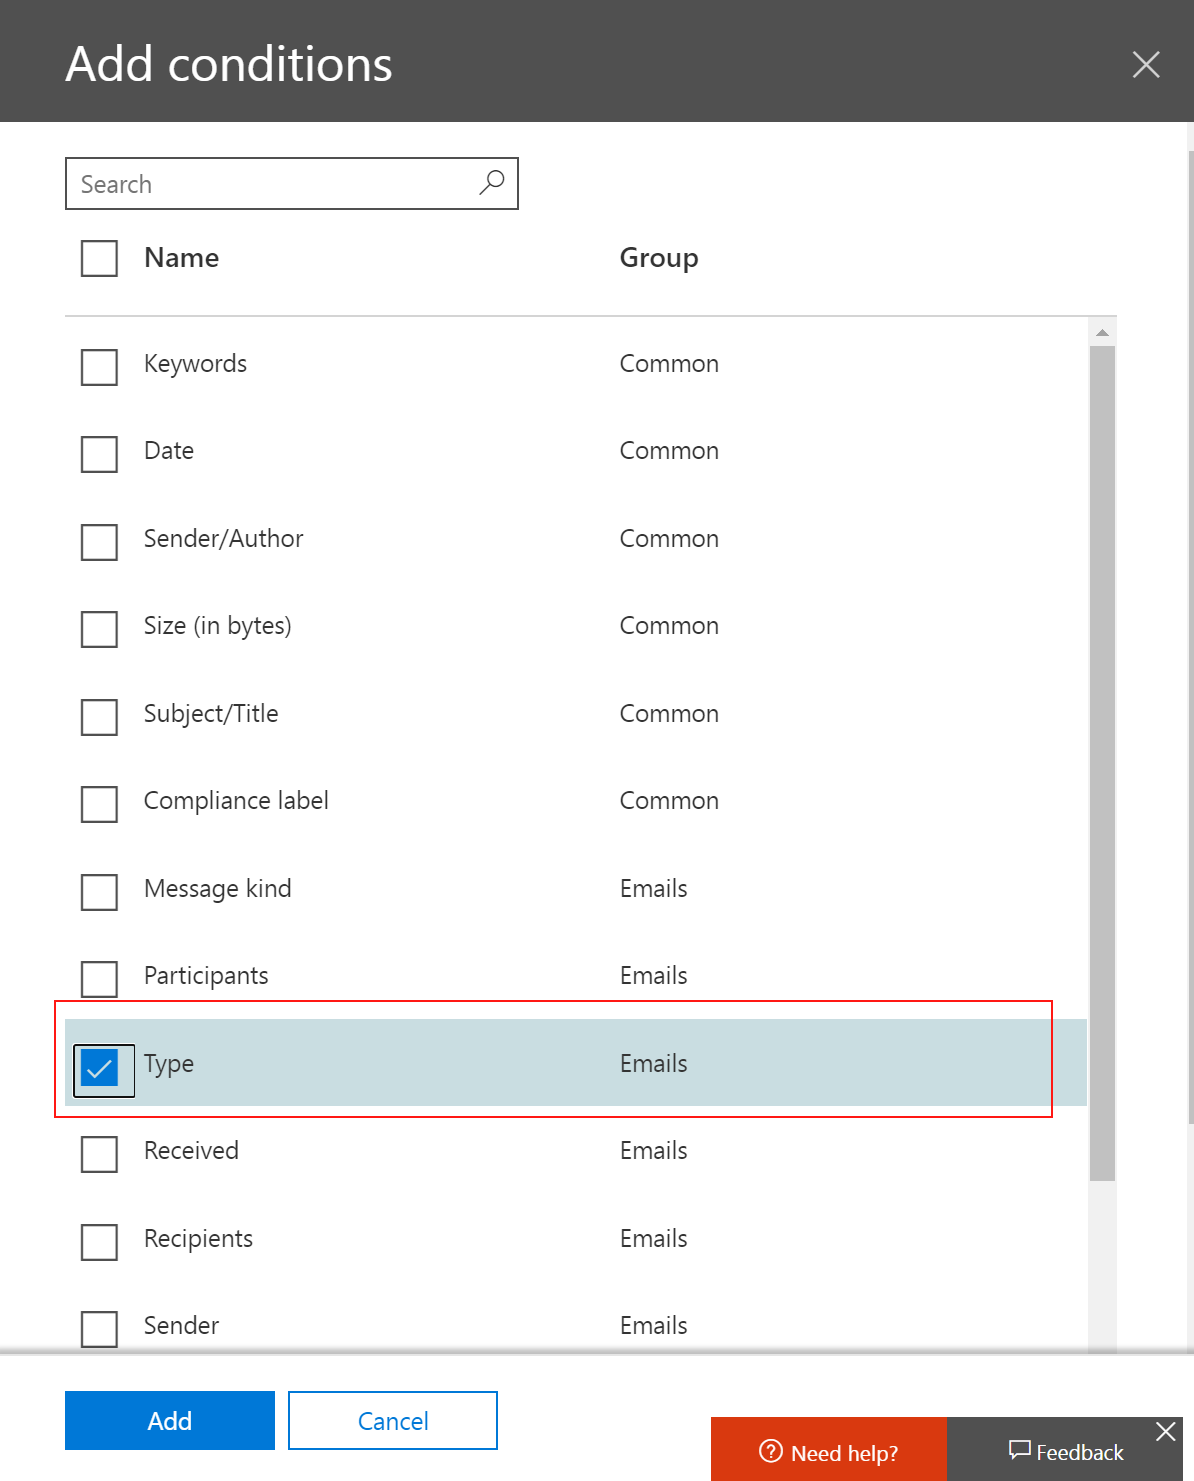
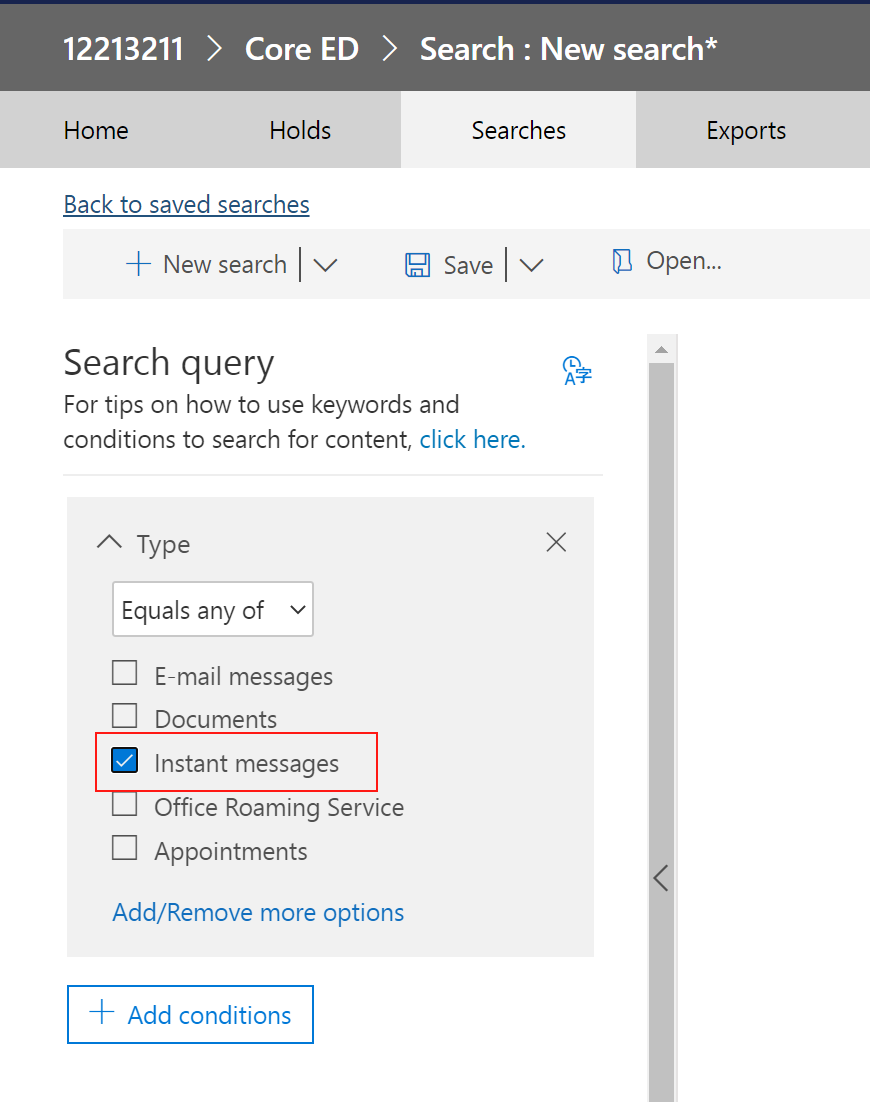
- Under Keywords select Add Conditions and from the list select Message Kind and Type and click add.
-
Set type to Instant Messages.
-
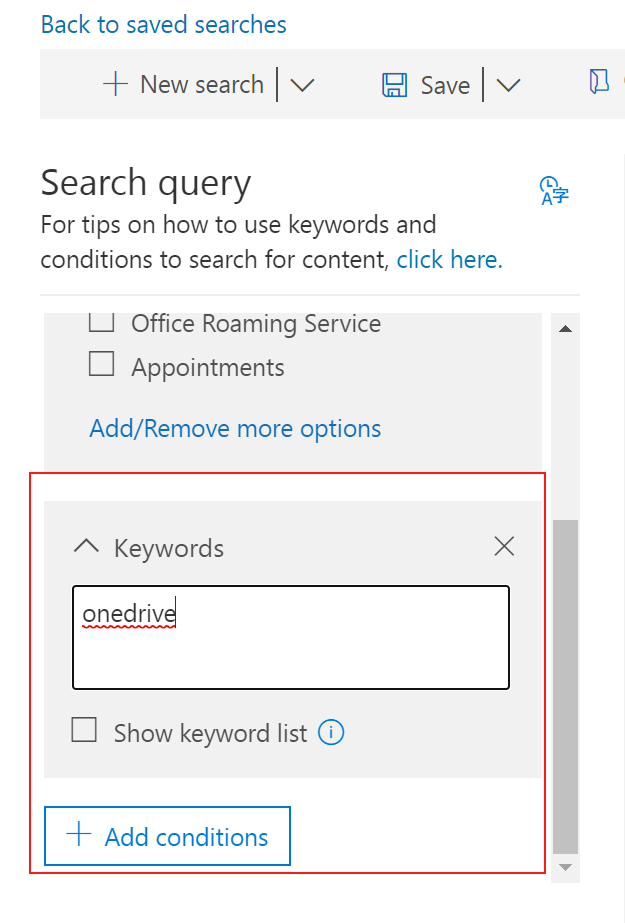
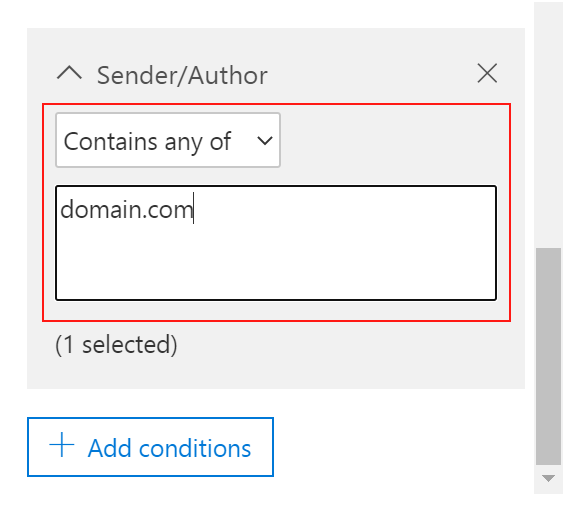
You can use also more condition to find anything specific. I.e. keyword, but also the other domain.
For a Skype for Business conversation, in Message “Kind” you can enter keyword as " IM “.
More Keyword queries and search conditions for Content Search can be found here.
-
Now, click Save & run and enter a friendly name for your search and save.
-
Wait for search to complete, this can take some time, don’t close your browser.

-
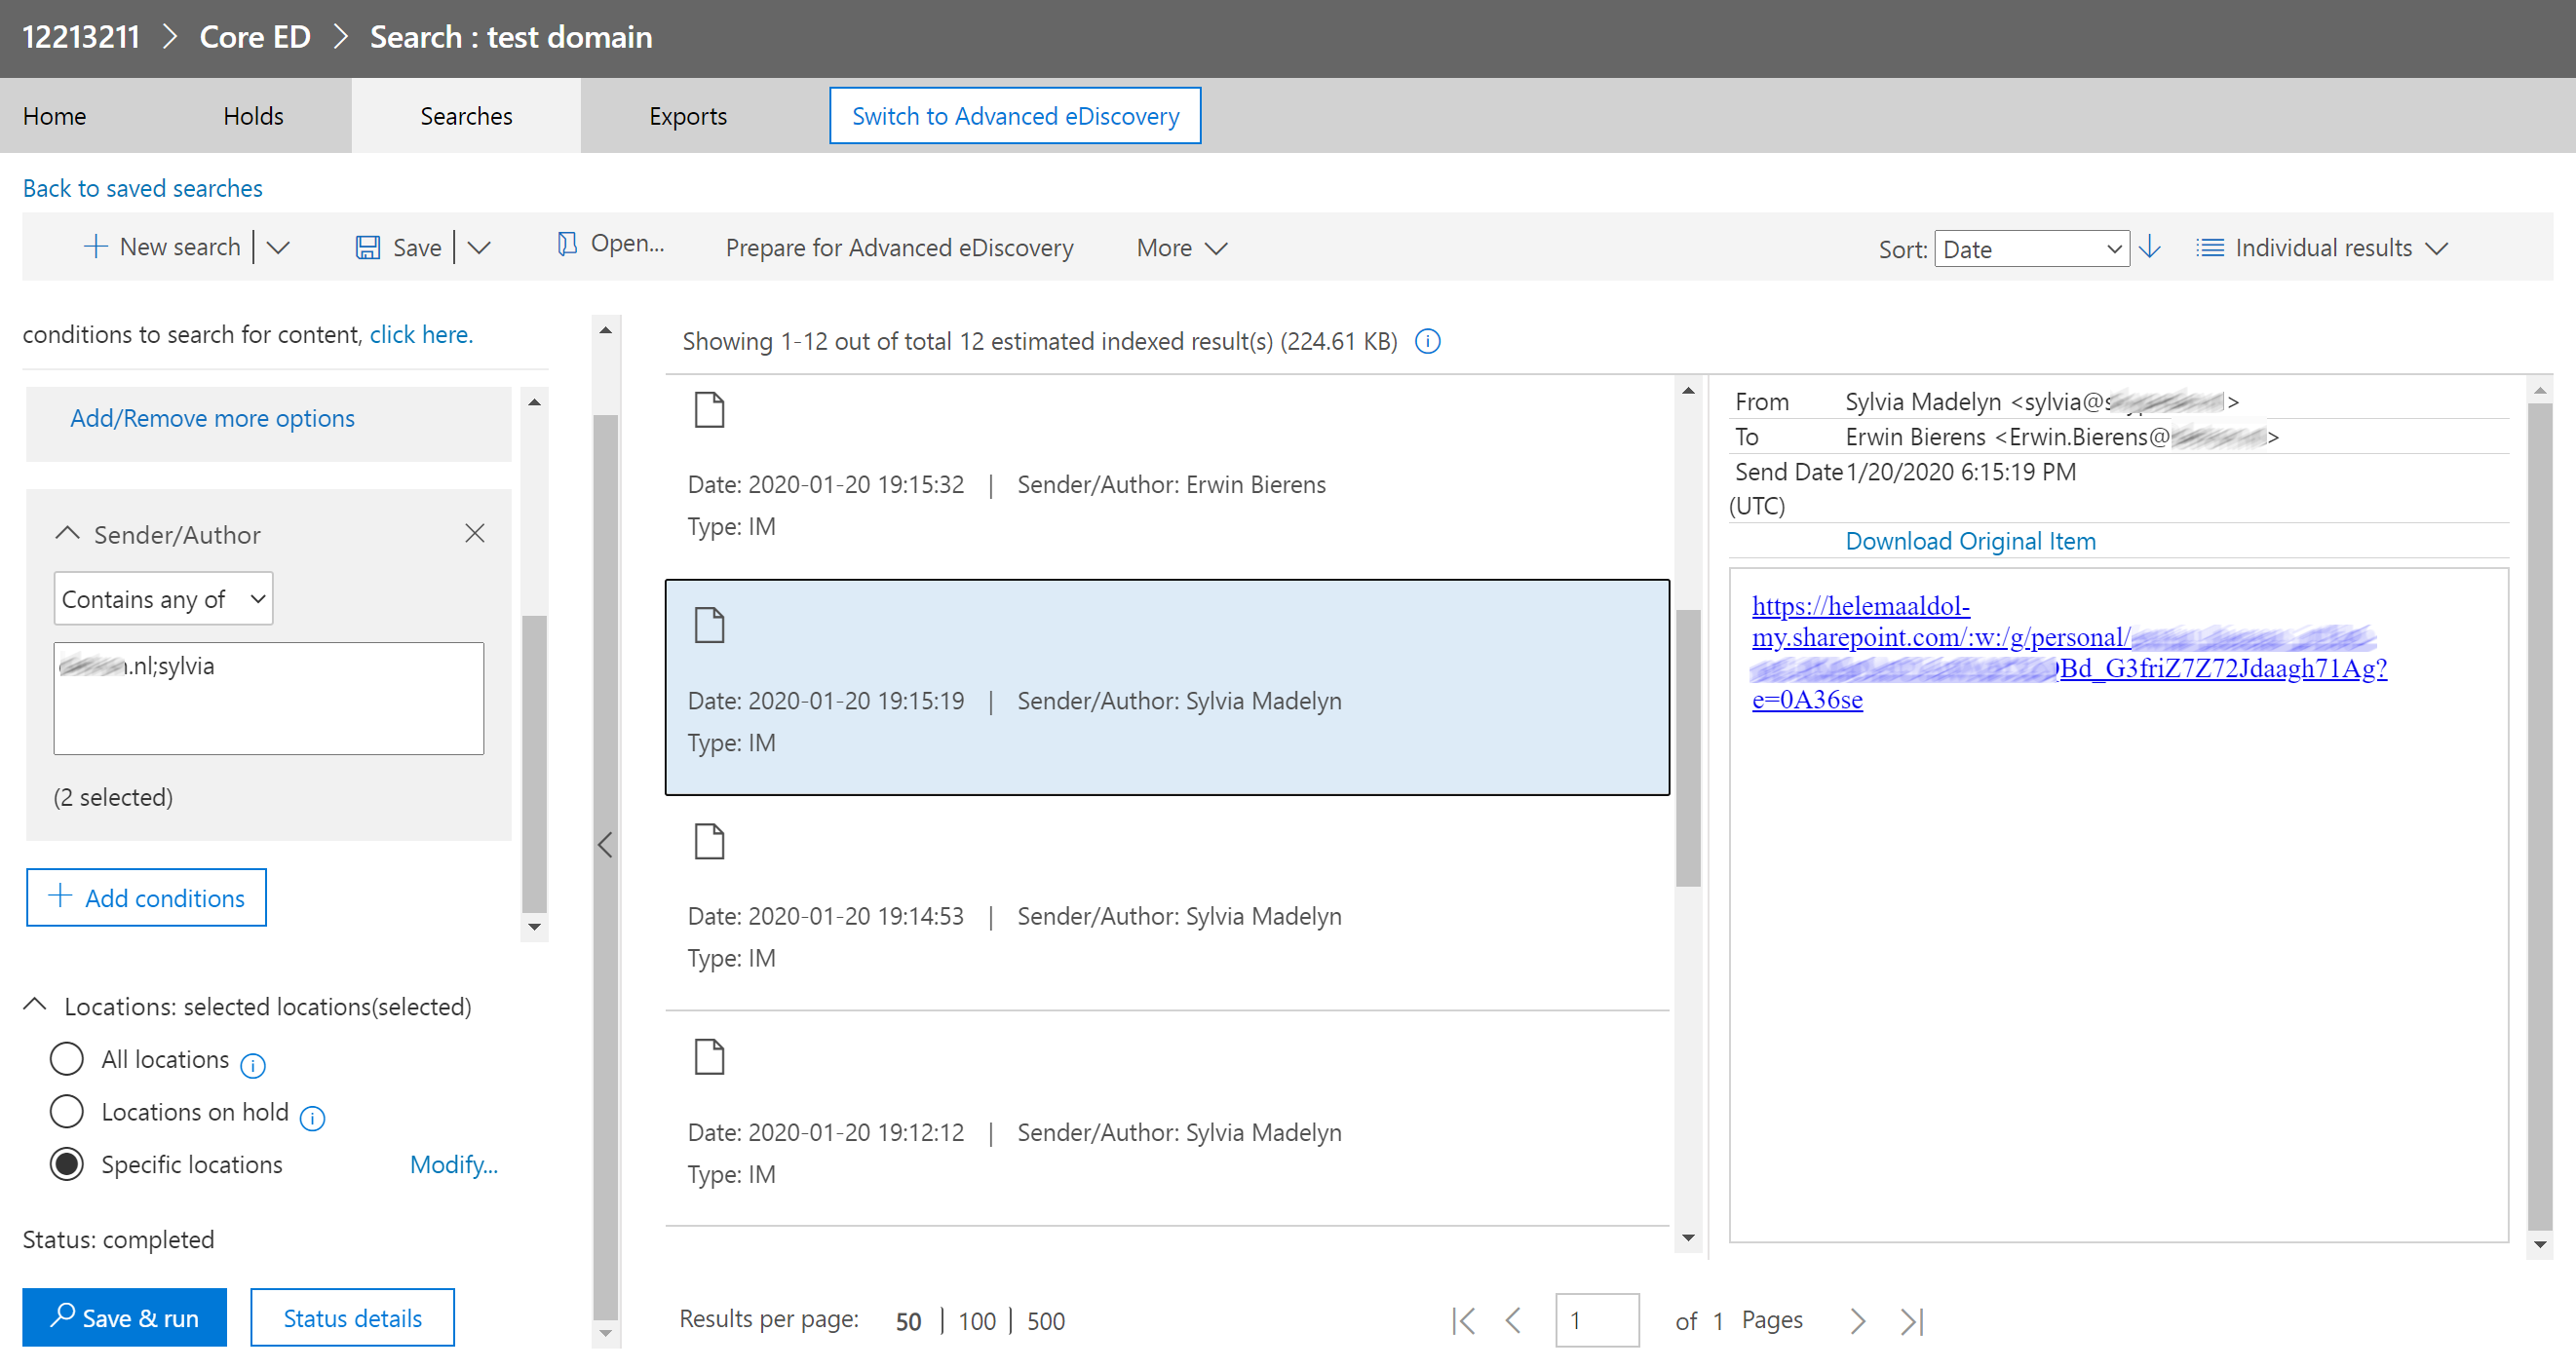
When the search is finished you will see the IM messages of the user and there it is.. the leaked document :-)
Exporting the content
-
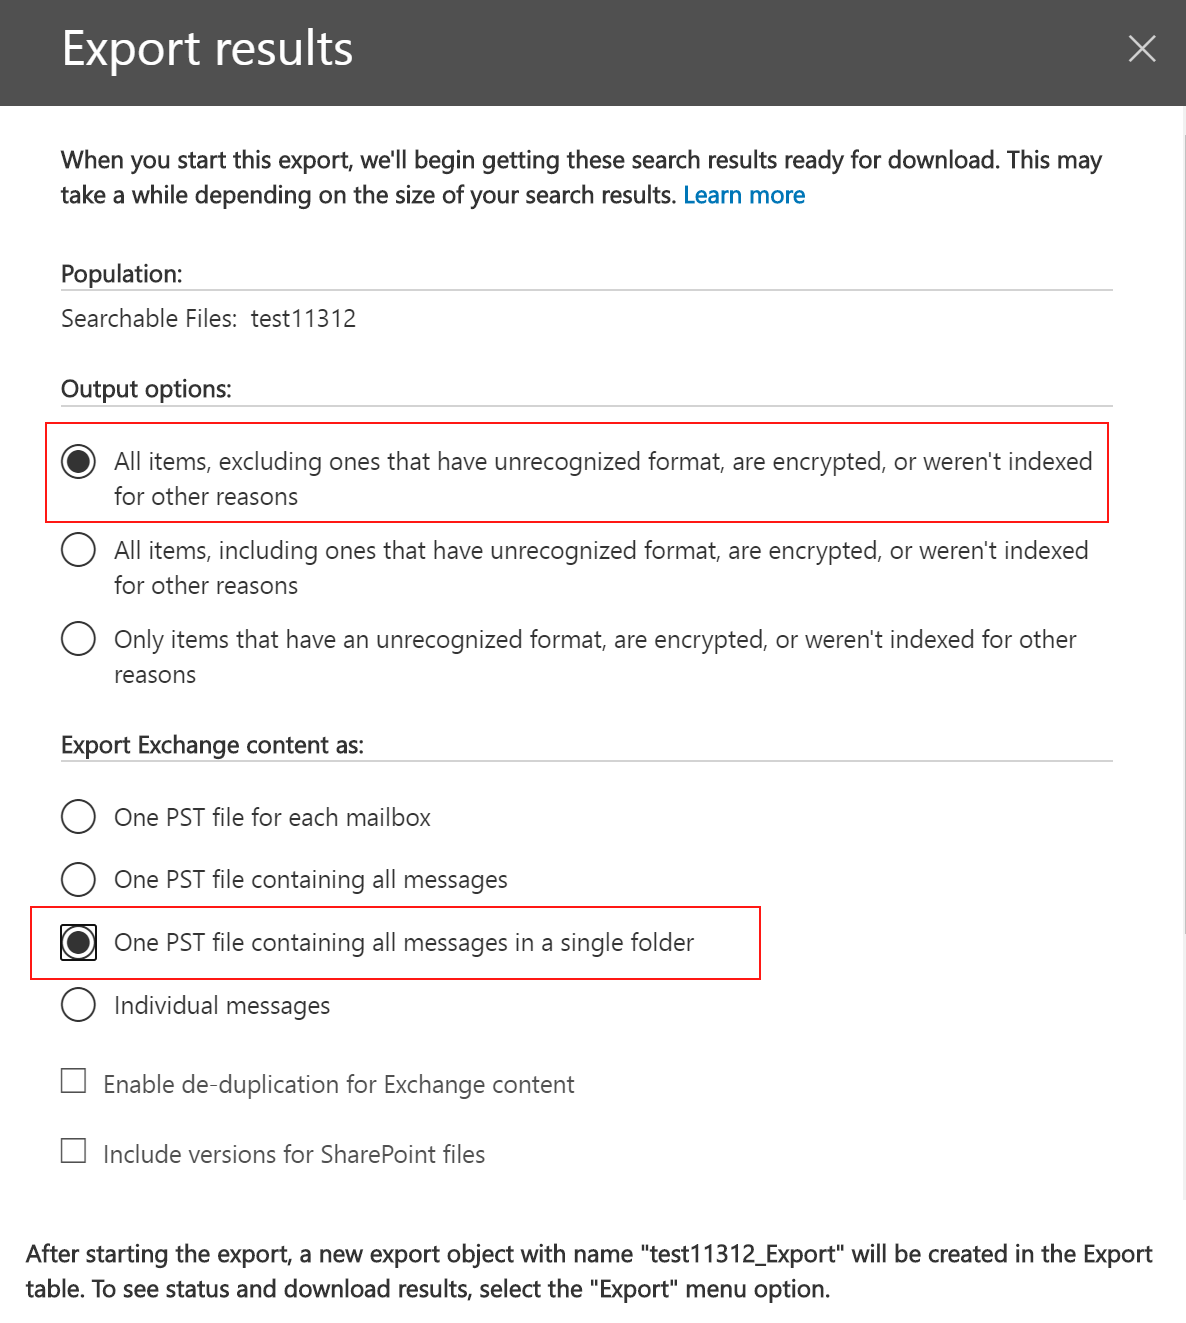
You can also go back to the Searches and select the Search you have created, click Export results.
-
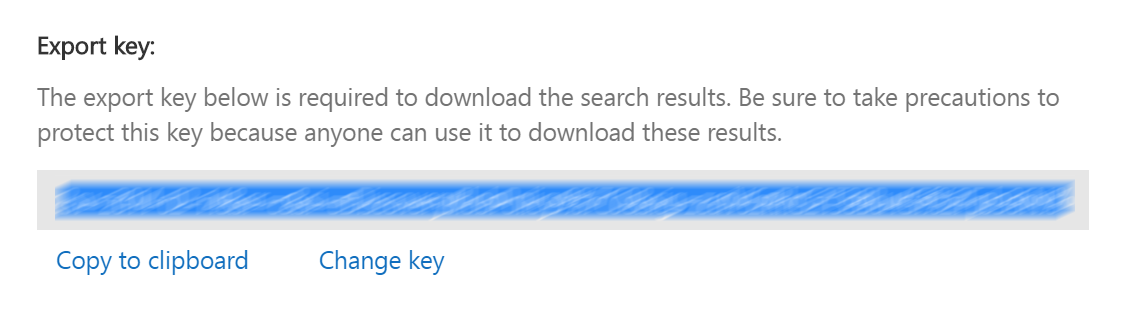
Go to the Exports tab and select Download results. It will install the Office 365 eDiscovery tool, once the tool launches paste the Key here and select the location to store the results and Start downloading.
Learn more about Office 365 Security and Compliance @ Office Docs
/