Create Azure SQL Server and Database
This how to will guide you true the steps of creating a simple Azure SQL server and database.
Create database server
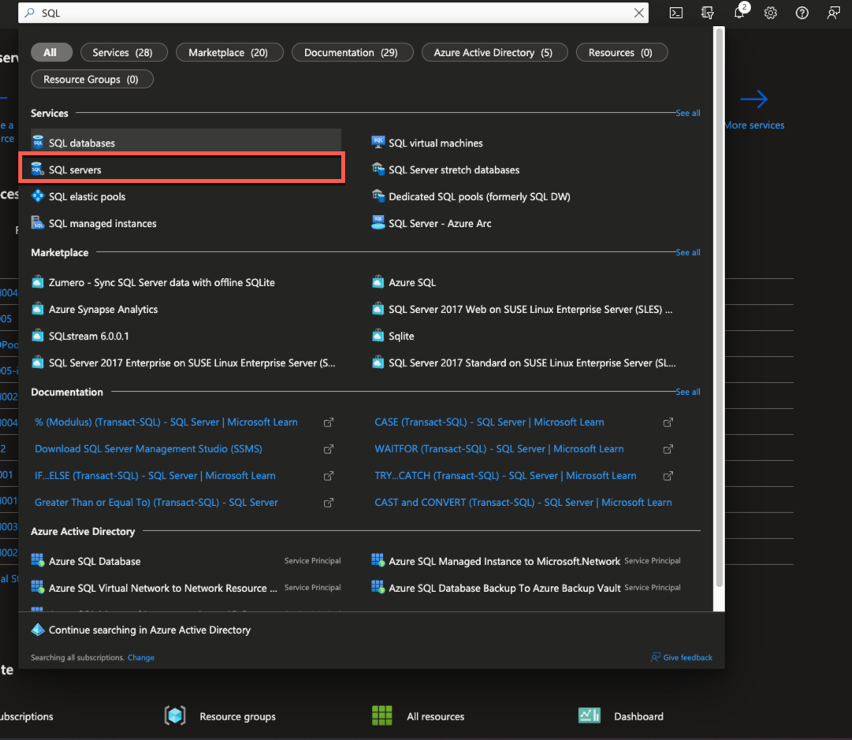
Go to https://portal.azure.com In the search field search for SQL Choose SQL server (if not created already)
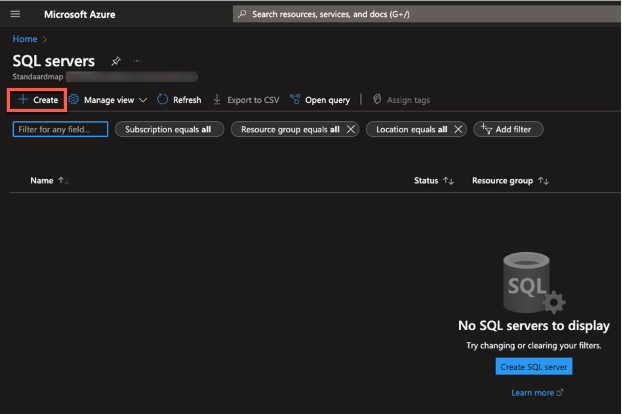
Click Create
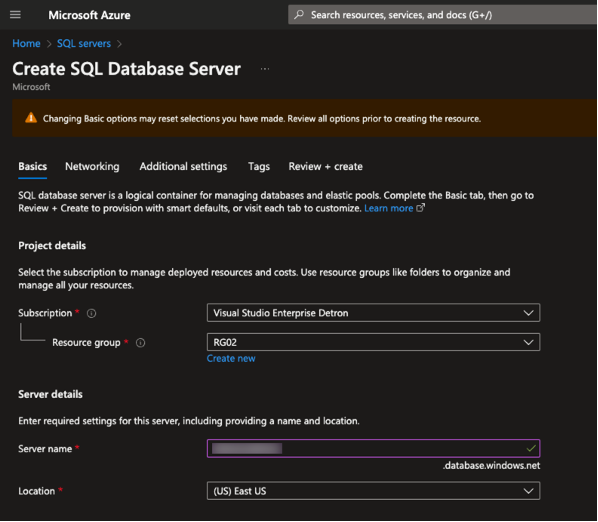
Choose subscription and create a resource group if not existing. Choose a server name (this will be your unique hostname) Location, choose your region.
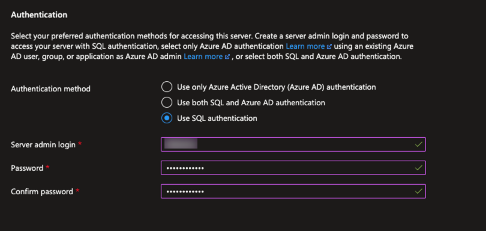
In the authentication field you can create your SA account. You can choose the right authentication option for your organization, in this case I choose for SQL authentication only.
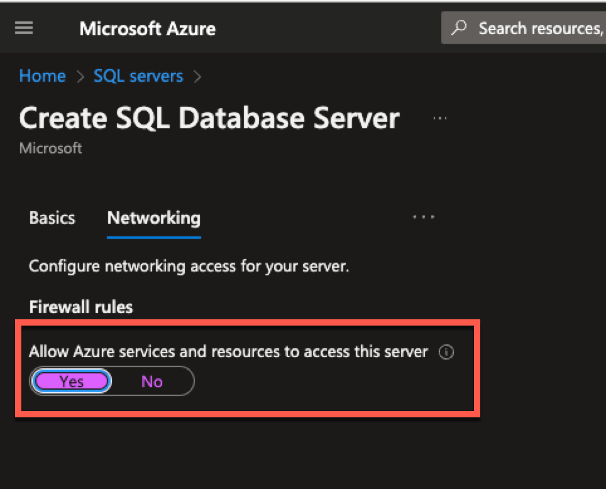
In the tab Networking (top menu) Set the allow Azure services and resourses to access this server to yes.
Click Review and Create followed by Create.
Create database
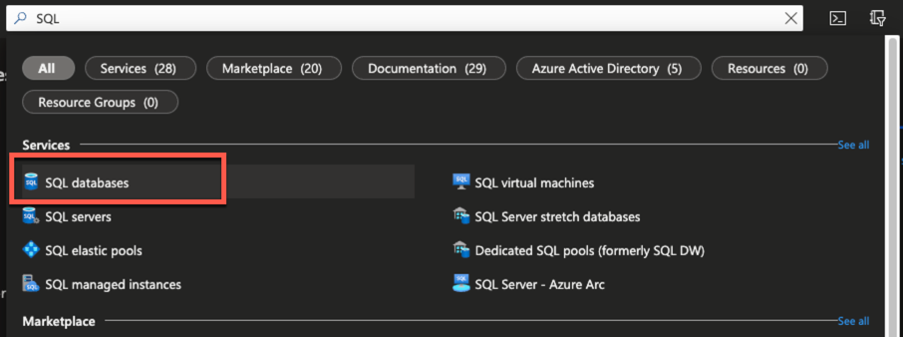
In the search field search for SQL Choose SQL databases
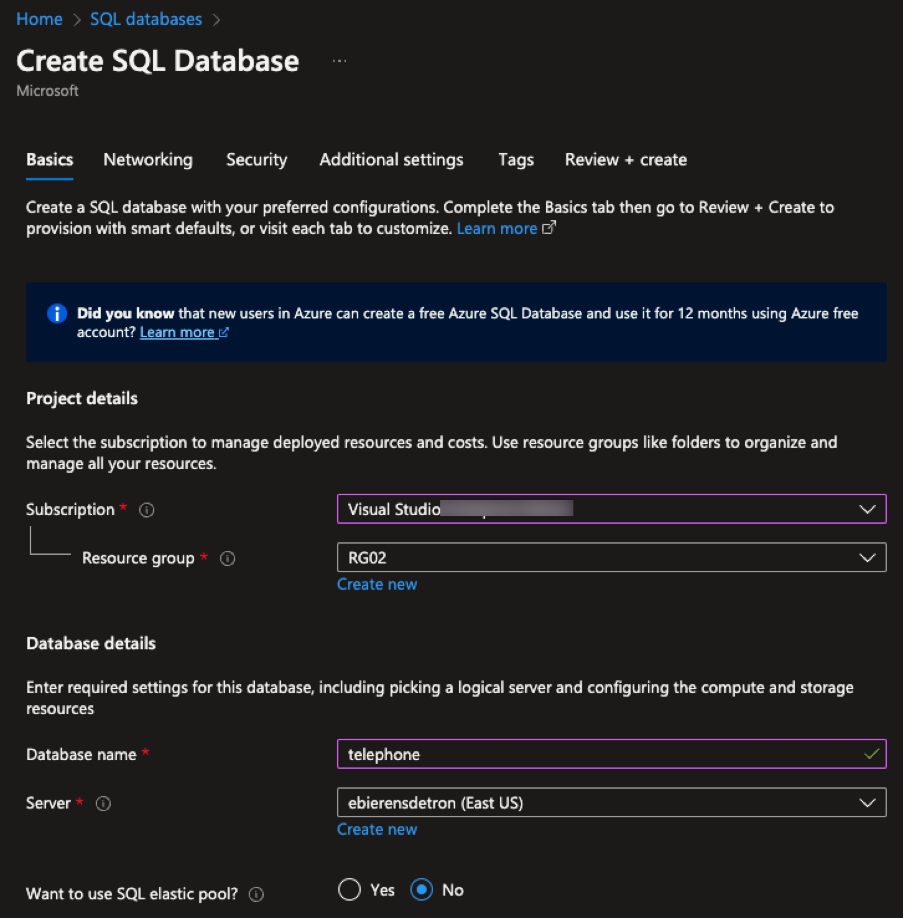
Select the subscription, resource group.
Create a database name
Set workload environment to Production
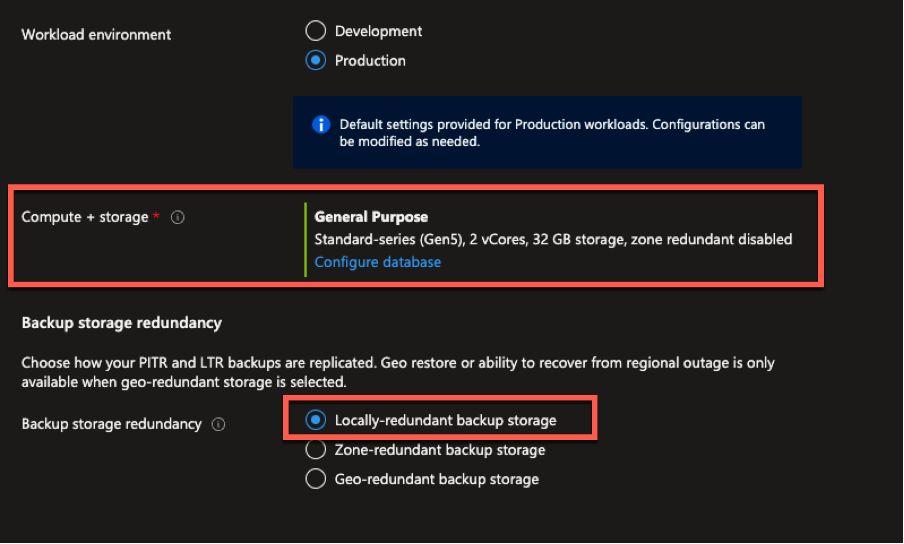
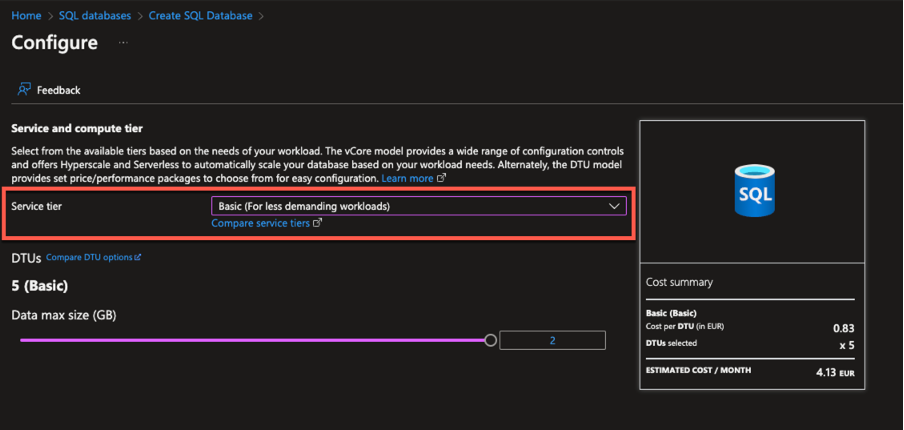
First set backup storage redundancy to locally. Now click the configure database.
Select the Basic from the dropdown menu
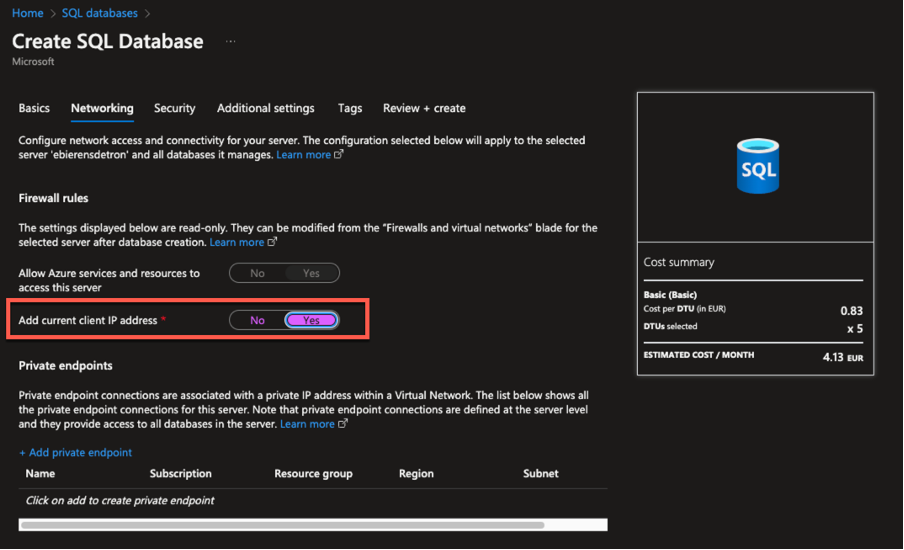
Click Next : Networking Add current client IP Address set to Yes
Click Review and create and click Create.
Your database is now ready, you can connect using the SQL Server manager.
Add external access
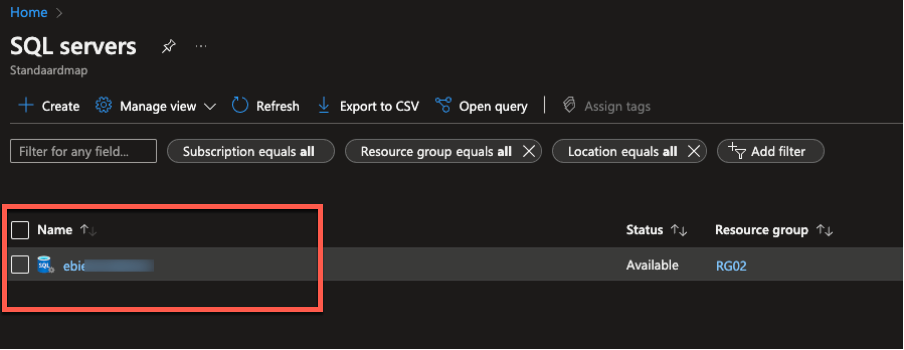
Go to SQL servers and select your server
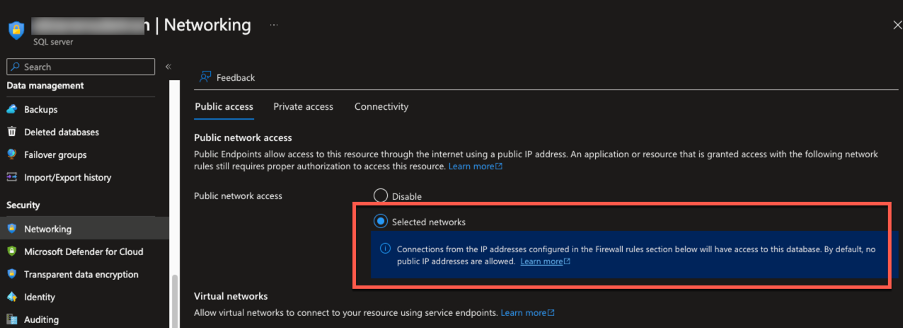
Go to Security / Networking menu Check if public network access is set to Public networks.
Scroll down to firewall rules and add the correct IP addresses.
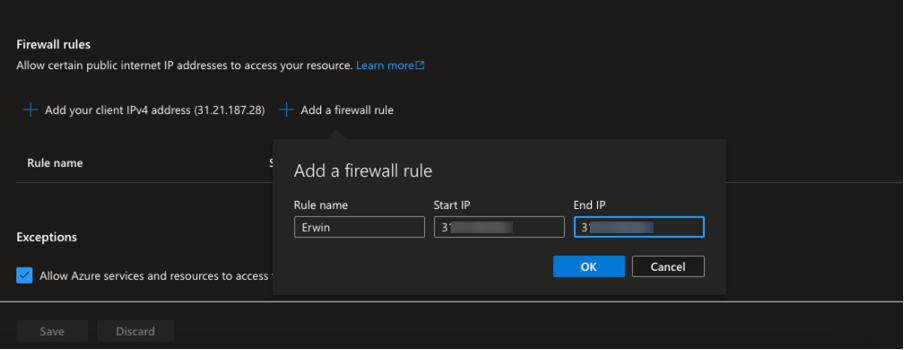
Click OK and click Save.

